How to build an Actionable data table with react table and tailwindcss
How to build an Actionable data table with react table and tailwindcss
In this article, we will see how to build an Actionable data table using a react table and tailwindcss. Data table is an important UI element for the application dashboard. It is always important to know how to build a reliable data table in frontend development.
What is a Data table?
Before going into the technical part of it. let’s try to understand what is a data table and why it’s important as in user’s perspective.
Data table is clear representation of a list of data. it is a way of representing the data in rows and columns.
Why it is important?
Consider that you are running a e-commerce store with online services. you want to see the monthly orders in a nice represented format and you also want to know from the most frequent purchased item in the particular month.
One of the traditional approach is to manage all those data in the excel or google sheet. you can still do that. but, it will be cumbersome once it became large set of data.
Here comes the role of data tables. basically, you manage all the reports data in a table with all the functionalities such as sorted order, filtering option and paginated data.
it will help you manage your data in a easy way with all the features.
Demo
Here, we are going to build a smart data table where we can add rows dynamically into the table and add/edit data in the data table itself.
Setup and Install
Here, we need a client application which will have data table. then it sends the data to server which saves the data to google sheet.
But, this article is mainly going to focus on building data table using react table. if you want to learn how to integrate google sheet in nodejs. checkout this article
let’s create a react application using the command, create-react-app
npx create-react-app clientNow, you will have a react application inside your root directory.
After that, install react-table which is a headless ui for creating a table in react application.
npm i react-tablefinally, let’s install tailwindcss in your react application. i don’t want go deep into this one, because there are already a well-written tutorials on this setup. checkout this article
Getting started
Firstly, A table contains mainly rows and columns. same goes for the react table. so, you need to pass data and columns in the react table hooks to render the columns and rows.
let’s create a react table component which takes columns and rows are argument to render the table.
import React from "react";
import { useTable } from "react-table";

const Table = ({ columns, data }) => {
  const {
    getTableProps,
    getTableBodyProps,
    headerGroups,
    rows,
    prepareRow,
    state,
  } = useTable({
    columns,
    data,

  });

  return (
    //Render UI Here
  );
};

export default Table;
Here, we take columns and data as props and pass it to hooks called useTable which returns some props to render the table component in our component.
let’s break it down one by one to understand it better,
For any table, we will have html semantics such as table , th,tbody , tr and td. we need some properties for this semantics to make it work properly. for example, to create a pagination or filter logic from scratch. you might need to access the html elements.
react-table provides this functionalities out of the box. to do this, you need to map the props from the useTable hooks to your HTML elements.
that’s the purpose of the props from useTable hooks.you can also override these properties with your custom one. some of the props are getTableProps , getTableBodyProps etc.
<table className="min-w-full divide-y divide-gray-200"
{...getTableProps()} />

</table>
Here, we have the table with getTableProps props from react table mapped with it.
like that, we need to render the thead,tbody etc
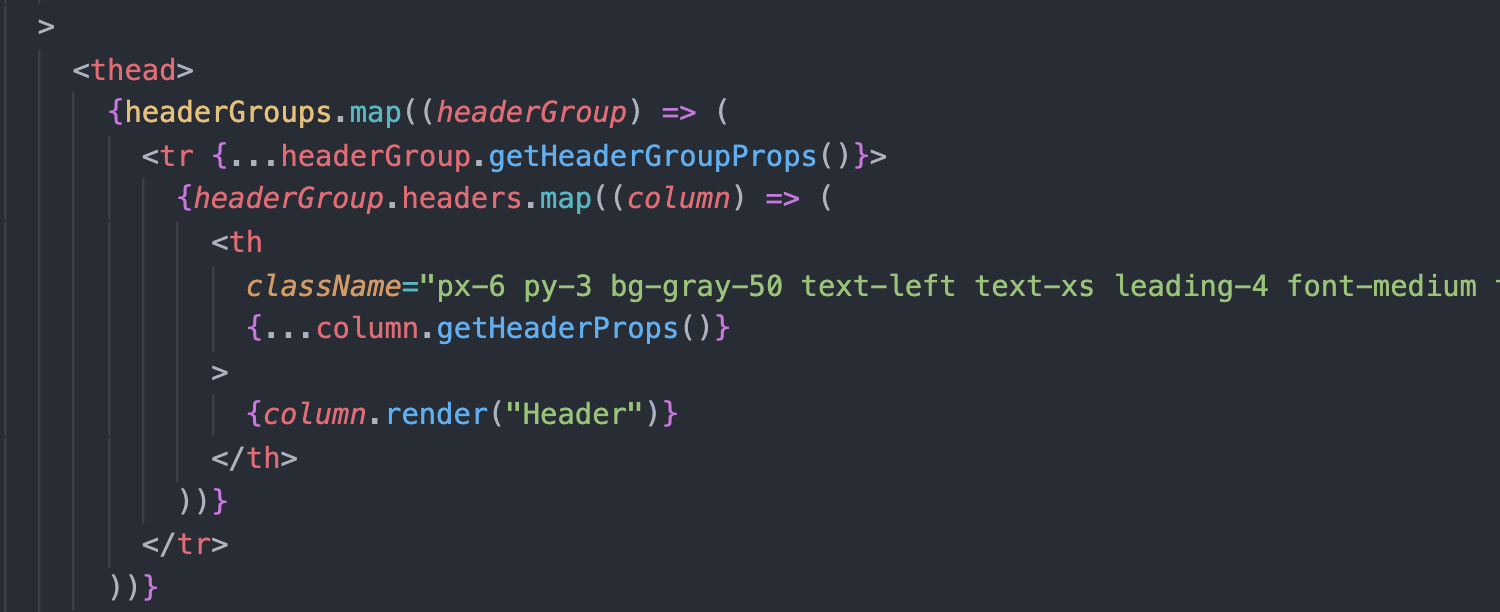
<thead>
  {headerGroups.map((headerGroup) => (
    <tr {...headerGroup.getHeaderGroupProps()}>
      {headerGroup.headers.map((column) => (
        <th
          className="px-6 py-3 bg-gray-50 text-left text-xs leading-4 font-medium text-gray-500 uppercase tracking-wider"
          {...column.getHeaderProps()}
        >
          {column.render("Header")}
        </th>
      ))}
    </tr>
  ))}
</thead>
important thing to note here is, headerGroup return headers which is going to be the headers of the table.
After that, we renders the tbody with same kind of pattern,
<tbody className="bg-white divide-y divide-gray-200" {...getTableBodyProps()}>
  {rows.map((row, i) => {
    prepareRow(row);
    return (
      <tr {...row.getRowProps()}>
        {row.cells.map((cell) => {
          return (
            <td
              className="px-6 py-4 whitespace-no-wrap text-sm leading-5 font-medium text-gray-900"
              {...cell.getCellProps()}
            >
              {cell.render("Cell")}
            </td>
          );
        })}
      </tr>
    );
  })}
</tbody>
See the full Table/index.js component here,
import React from "react";
import { useTable } from "react-table";

const Table = ({ columns, data }) => {
  const {
    getTableProps,
    getTableBodyProps,
    headerGroups,
    rows,
    prepareRow,
    state,
  } = useTable({
    columns,
    data,
  });

  return (
    <div className="flex flex-col w-full">
      <div className="-my-2 py-2 sm:-mx-6 sm:px-6 lg:-mx-8 lg:px-8">
        <div className="align-middle inline-block min-w-full shadow sm:rounded-lg border-b border-gray-200">
          <table
            className="min-w-full divide-y divide-gray-200"
            {...getTableProps()}
          >
            <thead>
              {headerGroups.map((headerGroup) => (
                <tr {...headerGroup.getHeaderGroupProps()}>
                  {headerGroup.headers.map((column) => (
                    <th
                      className="px-6 py-3 bg-gray-50 text-left text-xs leading-4 font-medium text-gray-500 uppercase tracking-wider"
                      {...column.getHeaderProps()}
                    >
                      {column.render("Header")}
                    </th>
                  ))}
                </tr>
              ))}
            </thead>
            <tbody
              className="bg-white divide-y divide-gray-200"
              {...getTableBodyProps()}
            >
              {rows.map((row, i) => {
                prepareRow(row);
                return (
                  <tr {...row.getRowProps()}>
                    {row.cells.map((cell) => {
                      return (
                        <td
                          className="px-6 py-4 whitespace-no-wrap text-sm leading-5 font-medium text-gray-900"
                          {...cell.getCellProps()}
                        >
                          {cell.render("Cell")}
                        </td>
                      );
                    })}
                  </tr>
                );
              })}
            </tbody>
          </table>
        </div>
      </div>
    </div>
  );
};

export default Table;
Let’s import the Table component inside our parent component and pass the required data as props.
add the following code in the App.js,
import React, { useState, useEffect } from "react";
import Table from "./components/Table";

function App() {
  const [rowdata, setRowData] = useState([]);

  const onAddRowClick = () => {
    setRowData(
      rowdata.concat({ username: "", email: "", gender: "", phone: "" })
    );
  };

  const columns = [
    {
      Header: "Name",
      accessor: "username",
    },
    {
      Header: "Email",
      accessor: "email",
    },
    {
      Header: "Gender",
      accessor: "gender",
    },
    {
      Header: "Phone",
      accessor: "phone",
    },
  ];

  return (
    <div className="container mx-auto">
      <button
        onClick={onAddRowClick}
        className="bg-blue-500 hover:bg-blue-700 text-white font-bold py-2 px-4 rounded"
      >
        Add Row
      </button>
      <div className="flex justify-center mt-8">
        <Table columns={columns} data={rowdata} />
      </div>
    </div>
  );
}

export default App;
Here, we have columns and rows passed into the Table component. An important thing to note is the structure of columns array. it contains Header and accessor.
Header is what we render inside Table th if you remember,
{
  column.render("Header");
}
accessor is referring to the row name to render in the Table component.
So far, we have seen how to render columns and rows inside the Table. let’s see how to render the editable cell inside the row.
Render Editable Cell
To render a editable cell, you need render the custom cell component inside the columns array.
create a component EditableCell/index.js and add the following code,
import React from "react";

const EditableCell = ({
  value: initialValue,
  row: { index },
  column: { id },
  updateMyData, // This is a custom function that we supplied to our table instance
}) => {
  // We need to keep and update the state of the cell normally
  const [value, setValue] = React.useState(initialValue);

  const onChange = (e) => {
    setValue(e.target.value);
  };

  // We'll only update the external data when the input is blurred
  const onBlur = () => {
    updateMyData(index, id, value);
  };

  // If the initialValue is changed external, sync it up with our state
  React.useEffect(() => {
    setValue(initialValue);
  }, [initialValue]);

  return <input value={value} onChange={onChange} onBlur={onBlur} />;
};

export default EditableCell;
Here, we pass the few values and functions as props. let’s break it down one by one,
- value - it returns the value to the custom cell, you will need the initial value to render it inside the component
- row - it returns the value of row that you are inserted the cell into.
- column - it returns the value of columns that you are adding the cell into.
- updateMyDate - it is a props to update the parent component on the onBlur event
you need to map the custom component inside the columns array
const columns = [
  {
    Header: "Name",
    accessor: "username",
    Cell: EditableCell,
  },
  {
    Header: "Email",
    accessor: "email",
    Cell: EditableCell,
  },
  {
    Header: "Gender",
    accessor: "gender",
    Cell: ({
      value: initialValue,
      row: { index },
      column: { id },
      updateMyData,
    }) => {
      const onItemClick = (value) => {
        console.log("value", value);
        updateMyData(index, id, value);
      };

      return (
        <DropDown
          options={[
            { label: "Male", value: "male" },
            { label: "Female", value: "female" },
          ]}
          title={"Select Gender"}
          selectedValue={initialValue}
          onItemClick={onItemClick}
        />
      );
    },
  },
  {
    Header: "Phone",
    accessor: "phone",
    Cell: EditableCell,
  },
];
if you watch it carefully, we inserted a dropdown in the same we implemented the custom Input.
Search and Filter
finally, you need to implement the search and filter functionality for data table. it is going to be simple, since we render the search and filter outside of our Table component.
we don’t need to implement it inside Table. we can directly manipulate our parent component state and filter the data based on search or filter input.
const [rowdata, setRowData] = useState([]);
const [filteredData, setFilteredData] = useState([]);

// Searchbar functionality
const onSearchbarChange = (e) => {
  const value = e.target.value;

  if (value === "") {
    setFilteredData(rowdata);
  } else {
    if (filteredData.length > 0) {
      const result = filteredData.filter((item) => item.email === value);

      setFilteredData(result);
    } else {
      const result = rowdata.filter((item) => item.email === value);

      setFilteredData(result);
    }
  }
};

// Filter functionality
const onItemClick = (e) => {
  console.log("e", e);
  if (e === "all") {
    setFilteredData(rowdata);
  } else {
    const result = rowdata.filter((item) => item.gender === e);

    setFilteredData(result);
  }
};
Conclusion
It is important to know how to build a data table in your web development career. because, you might need to implement it in some point of time in your development life. keep exploring the concept of it and practice a lot to become better at it.