Deploying Node.js/Typescript application on AWS Elastic Beanstalk - Part 1
Deploying Node.js/Typescript application on AWS Elastic Beanstalk - Part 1
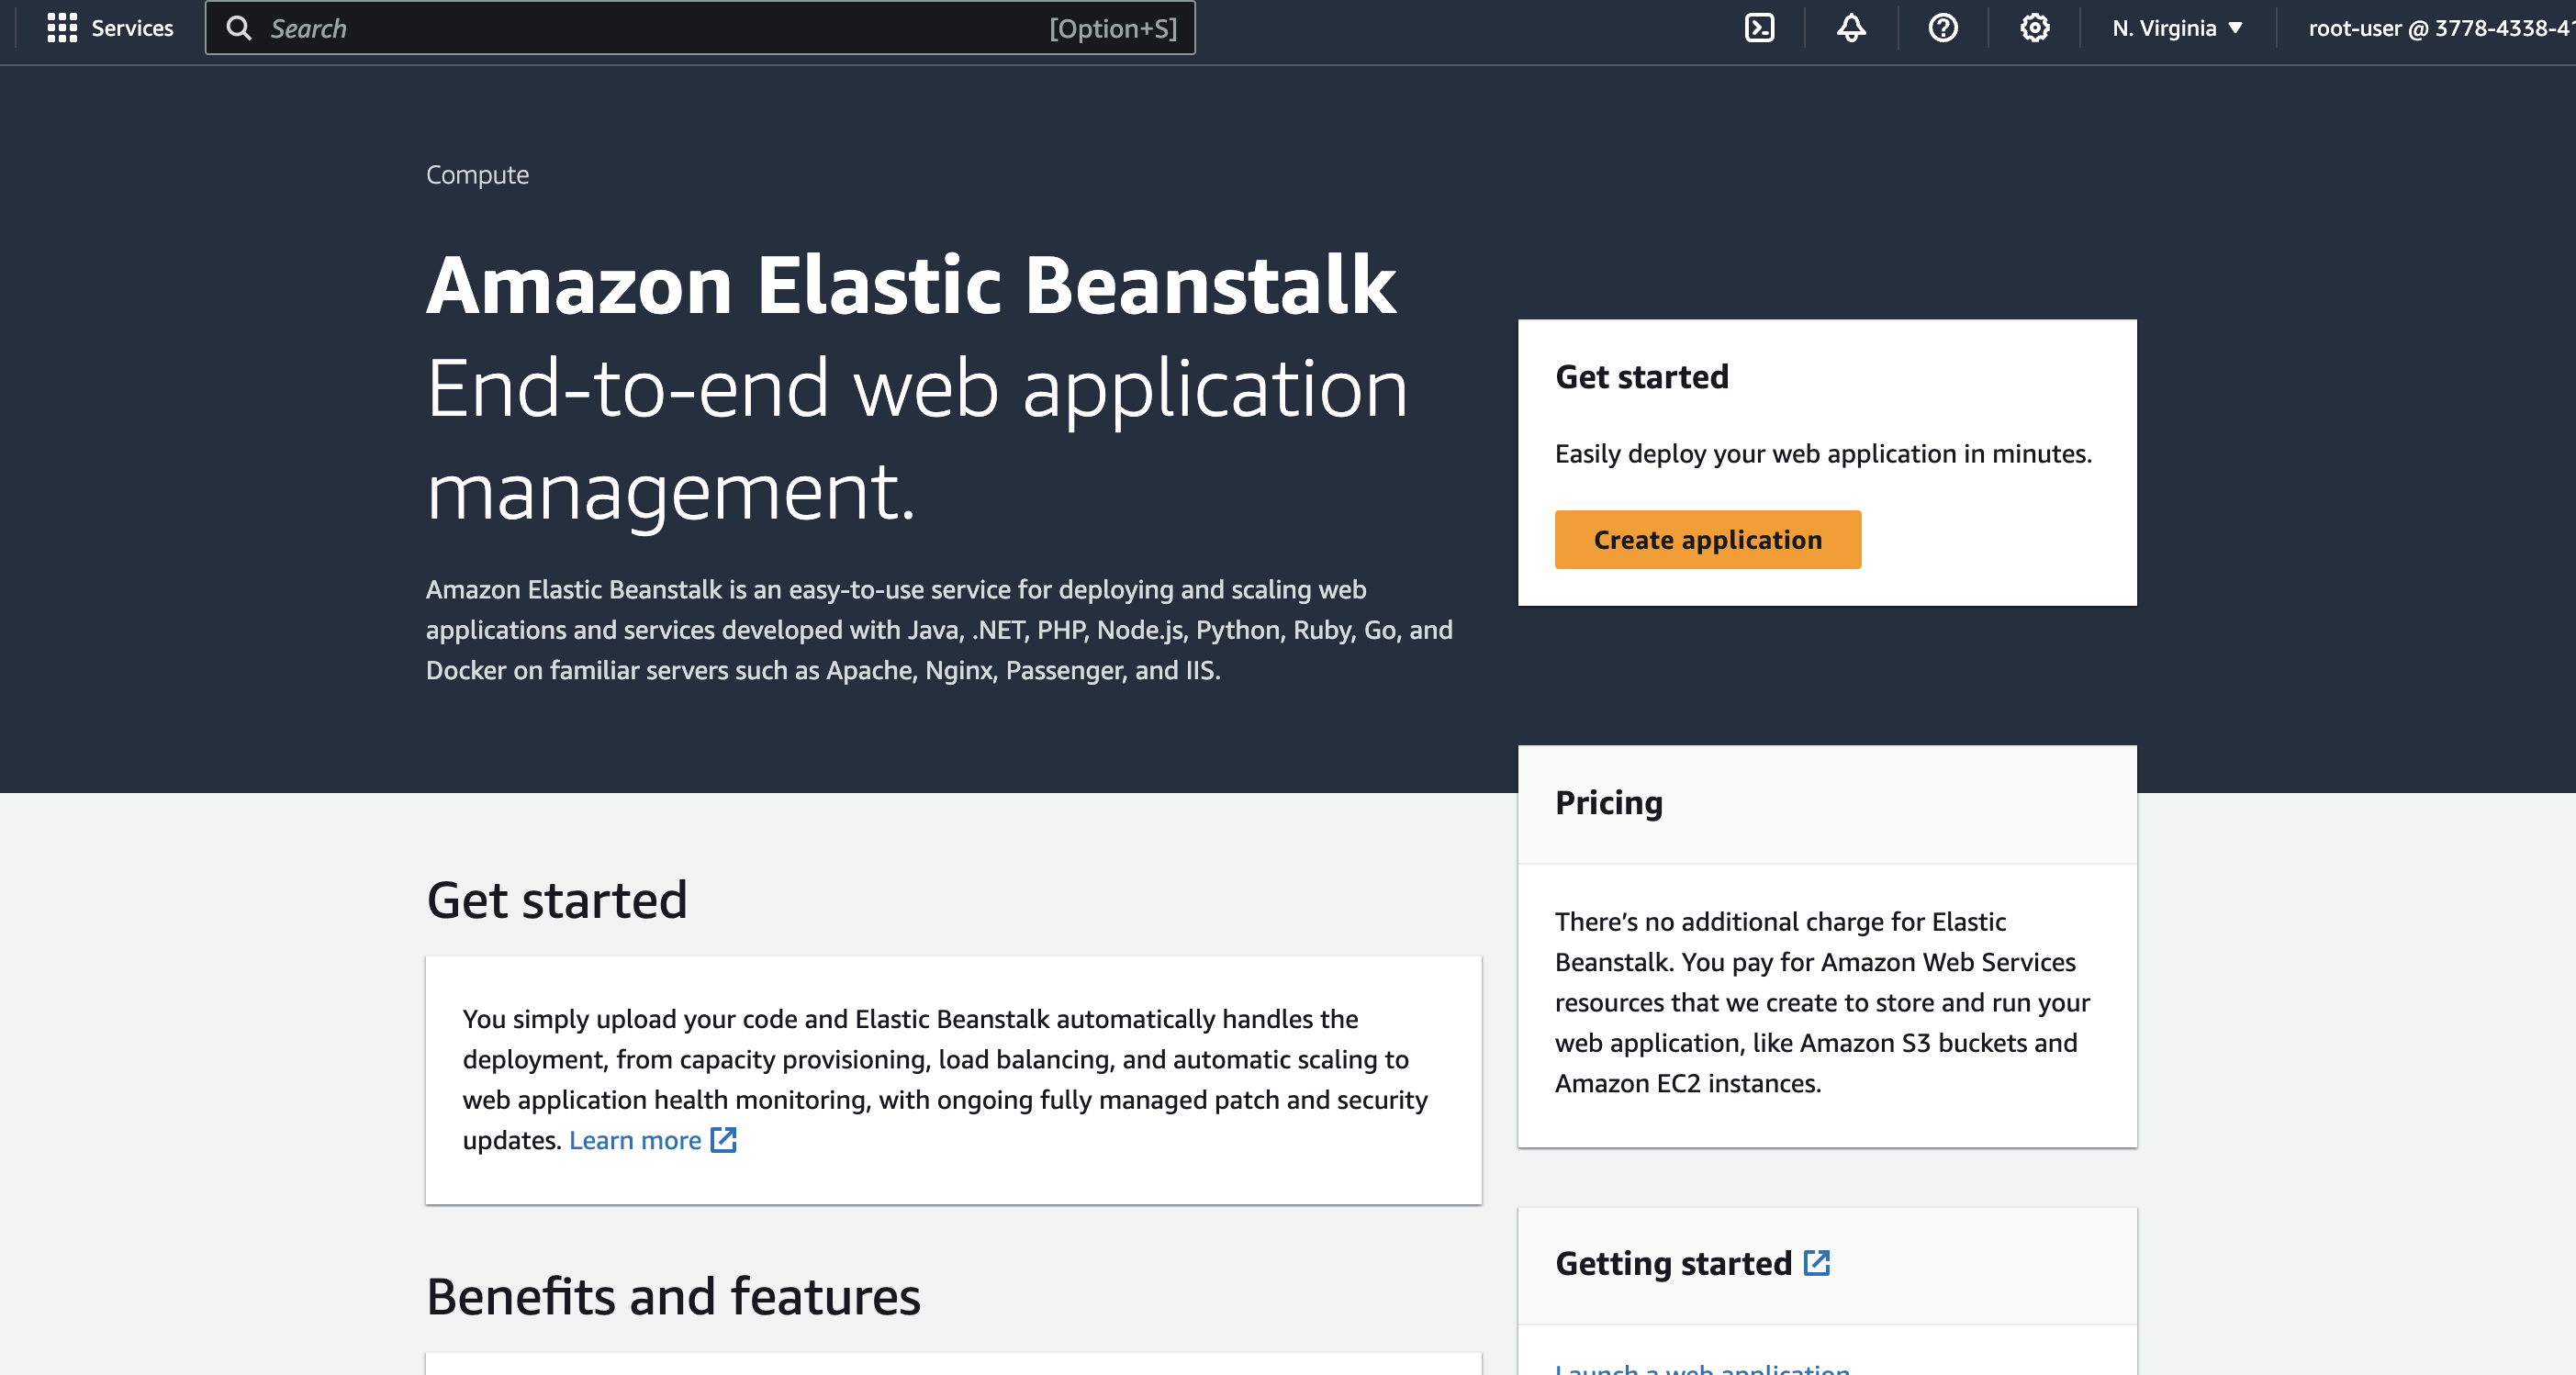
What is Elastic Beanstalk?
Elastic Beanstalk is a managed service in AWS to deploy and scale web applications. It provides a platform to upload the code and Elastic Beanstalk automatically handles the deployment and provision the infrastructure required for the application.
To explain it in simple words, If you are deploying your Nodejs application in EC2, you need to install Nodejs runtime, Git and other dependancies to run the application. But, when it comes to Elastic Beanstalk, it provides pre-configured environment to run the application. So, we don’t need to manage them by ourselves.
Let’s understand how Elastic Beanstalk works by deploying a sample Nodejs application.
Deploying Sample Nodejs application to Elastic Beanstalk
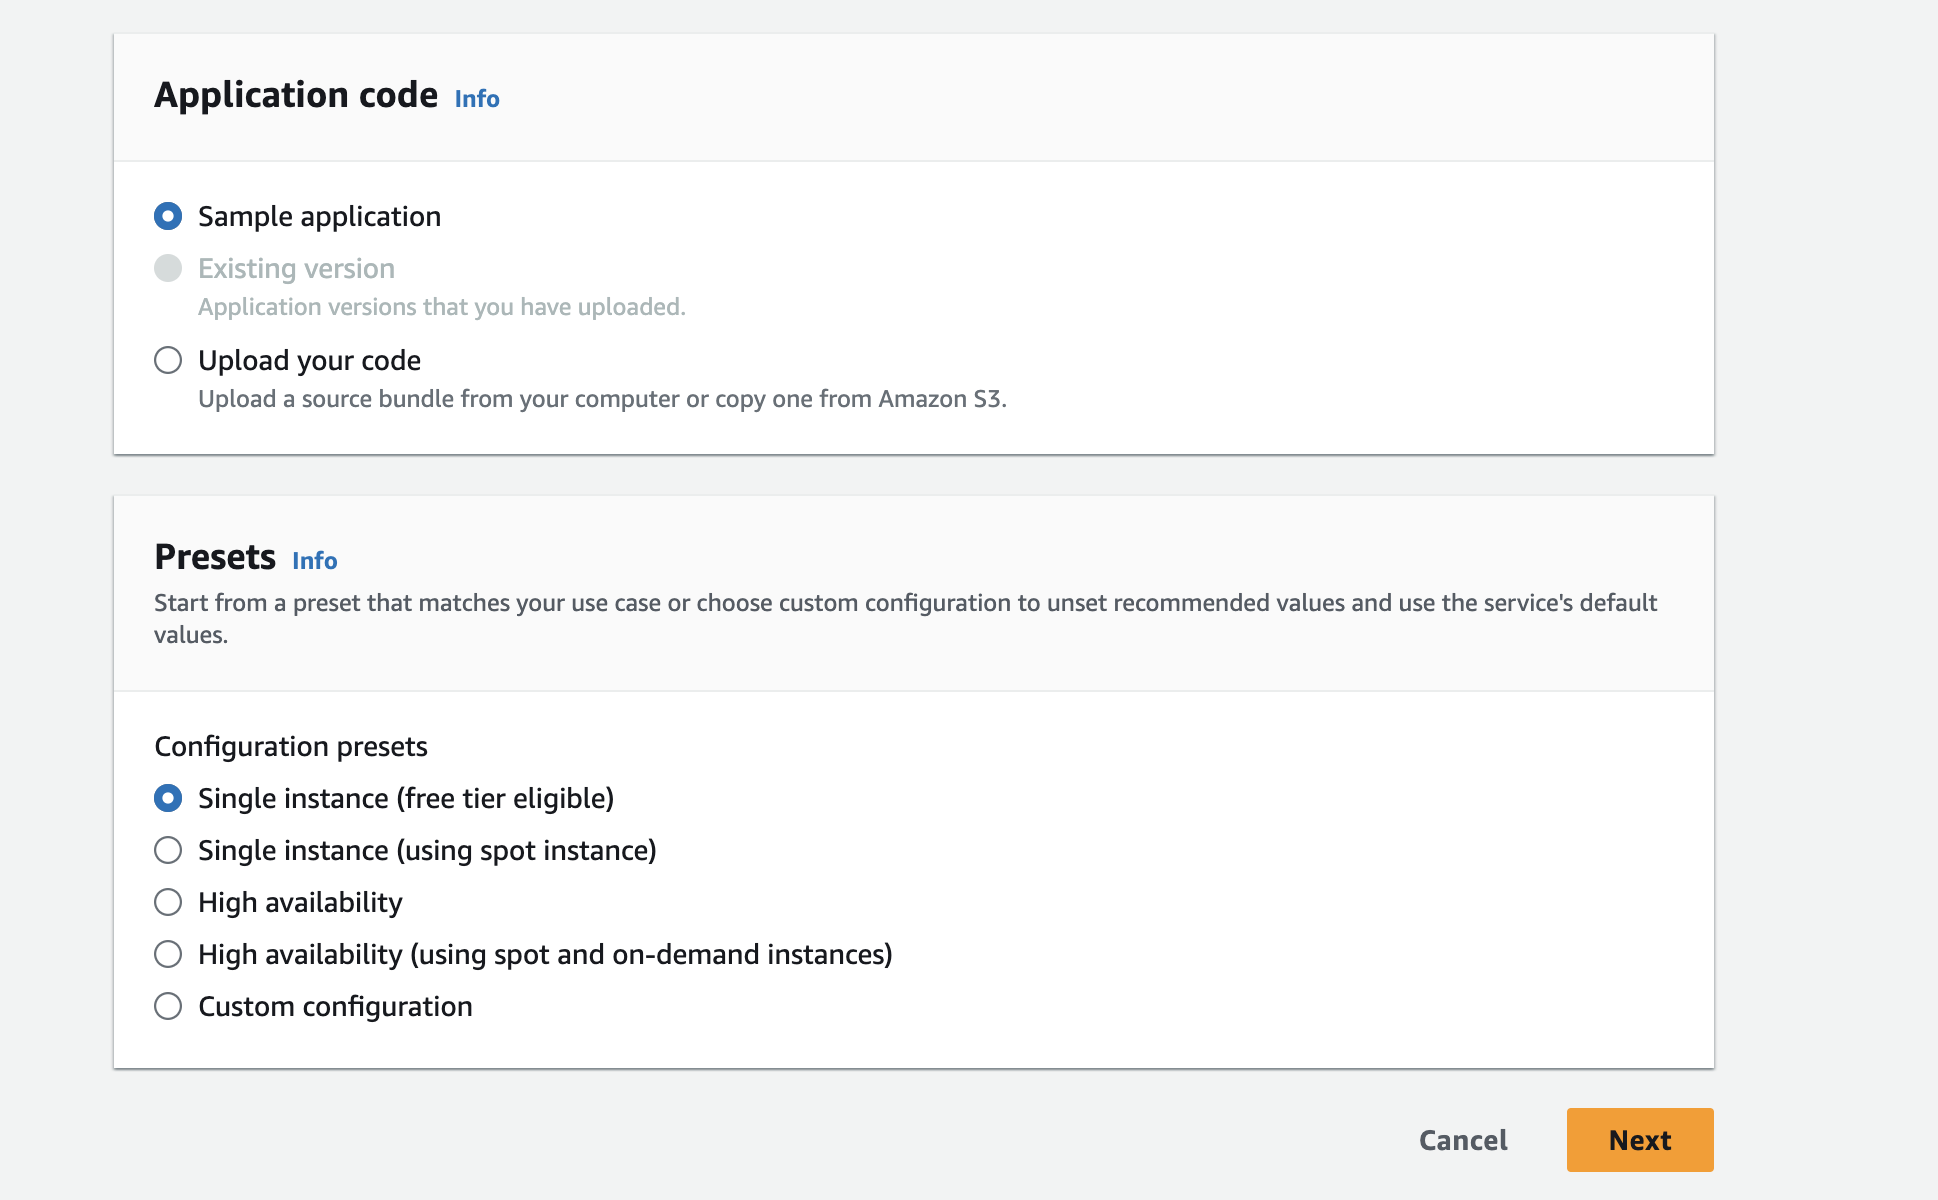
Go to Elastic Beanstalk dashboard and click on Create application.
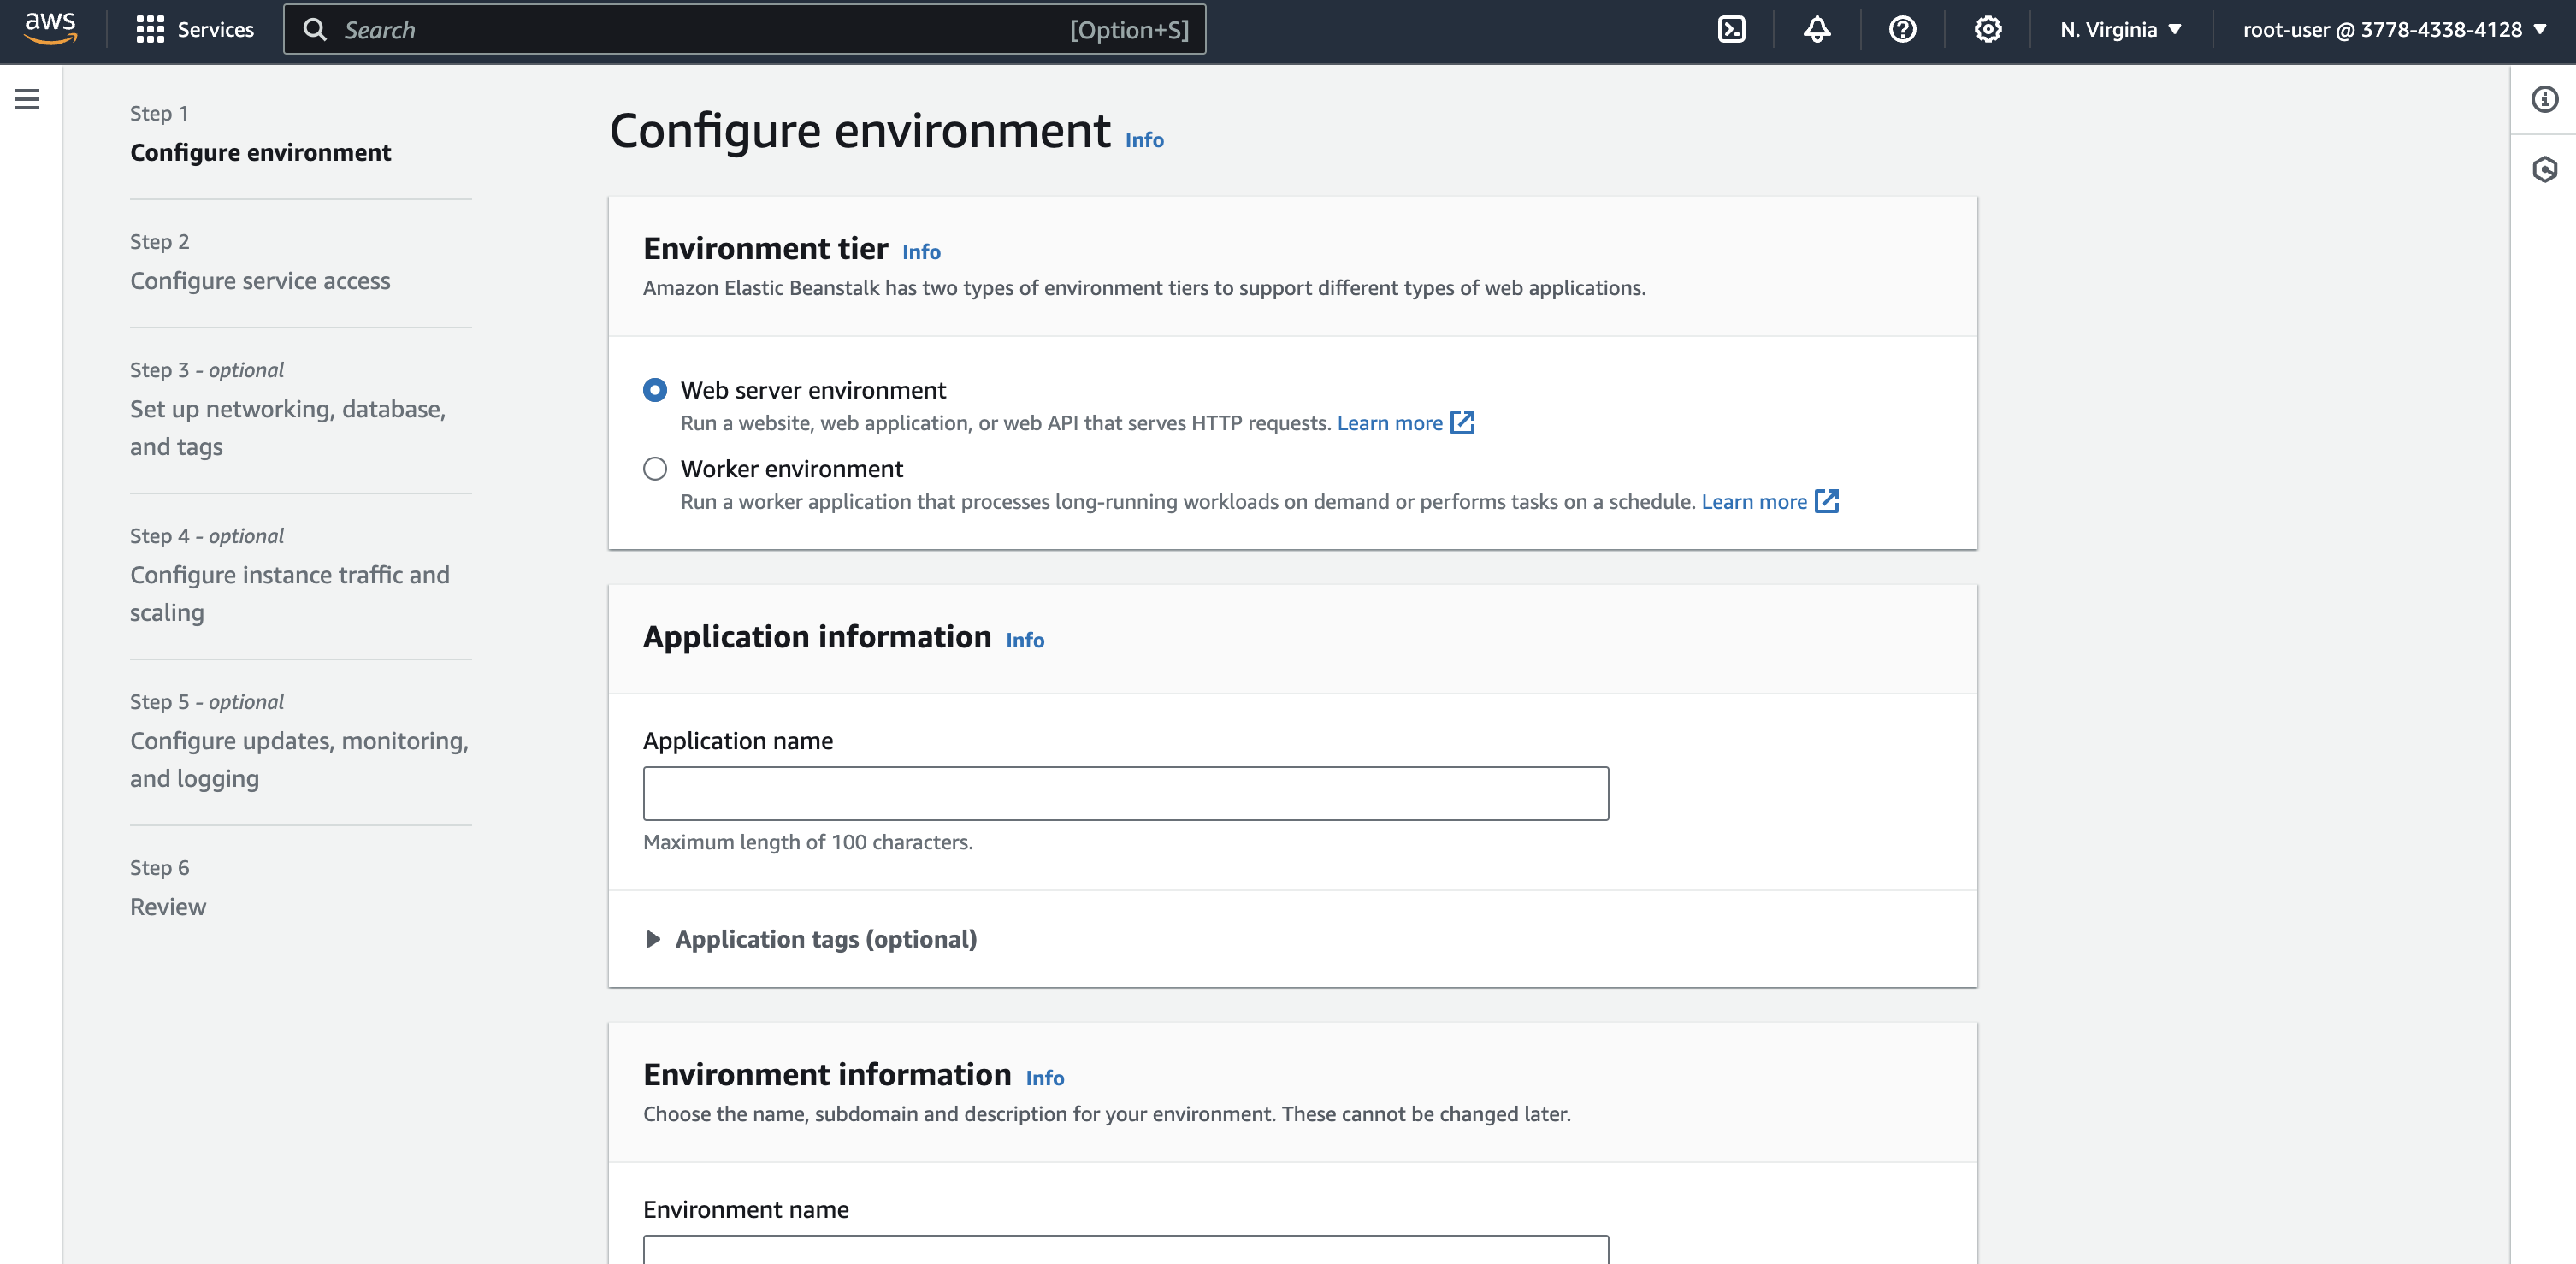
After that, you can see different steps to configure the environment to deploy the application. First and foremost, you need to configure if it’s a web server or worker such as scheduler to do a job.
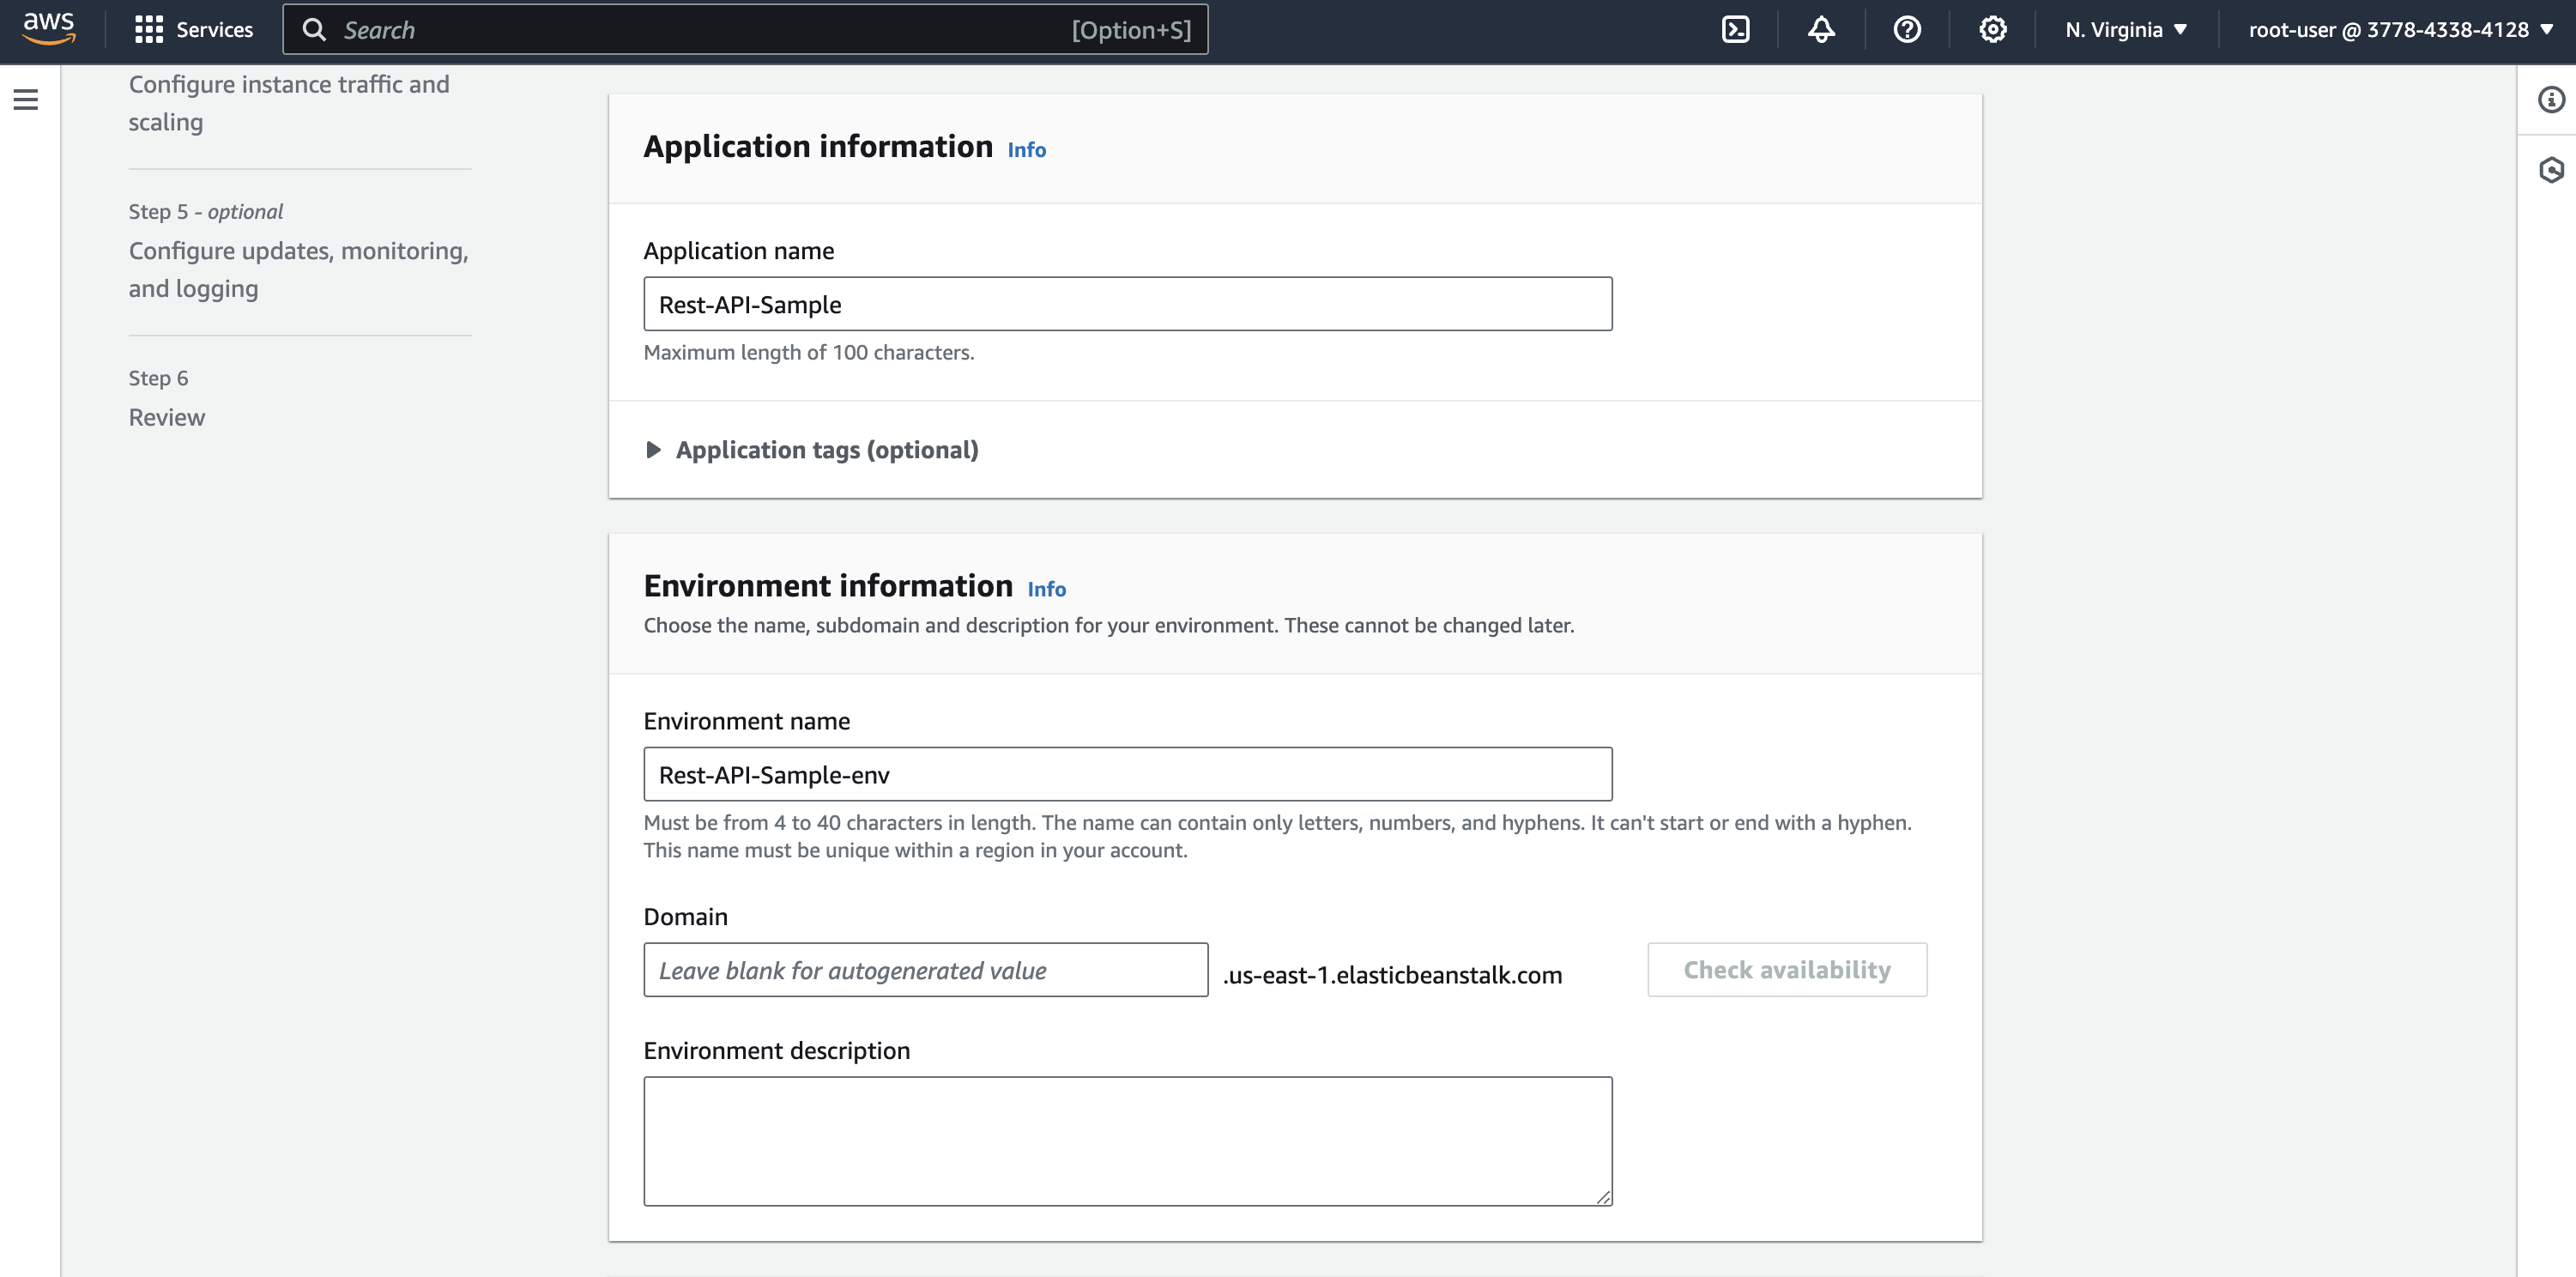
Since we are building a web server for this tutorial, we will select Web server environment. Then, you can provide name for your application.
One of the important configurations is selecting the platform type. We will be using a managed platform as Elastic Beanstalk automatically handles the environment and its configurations.
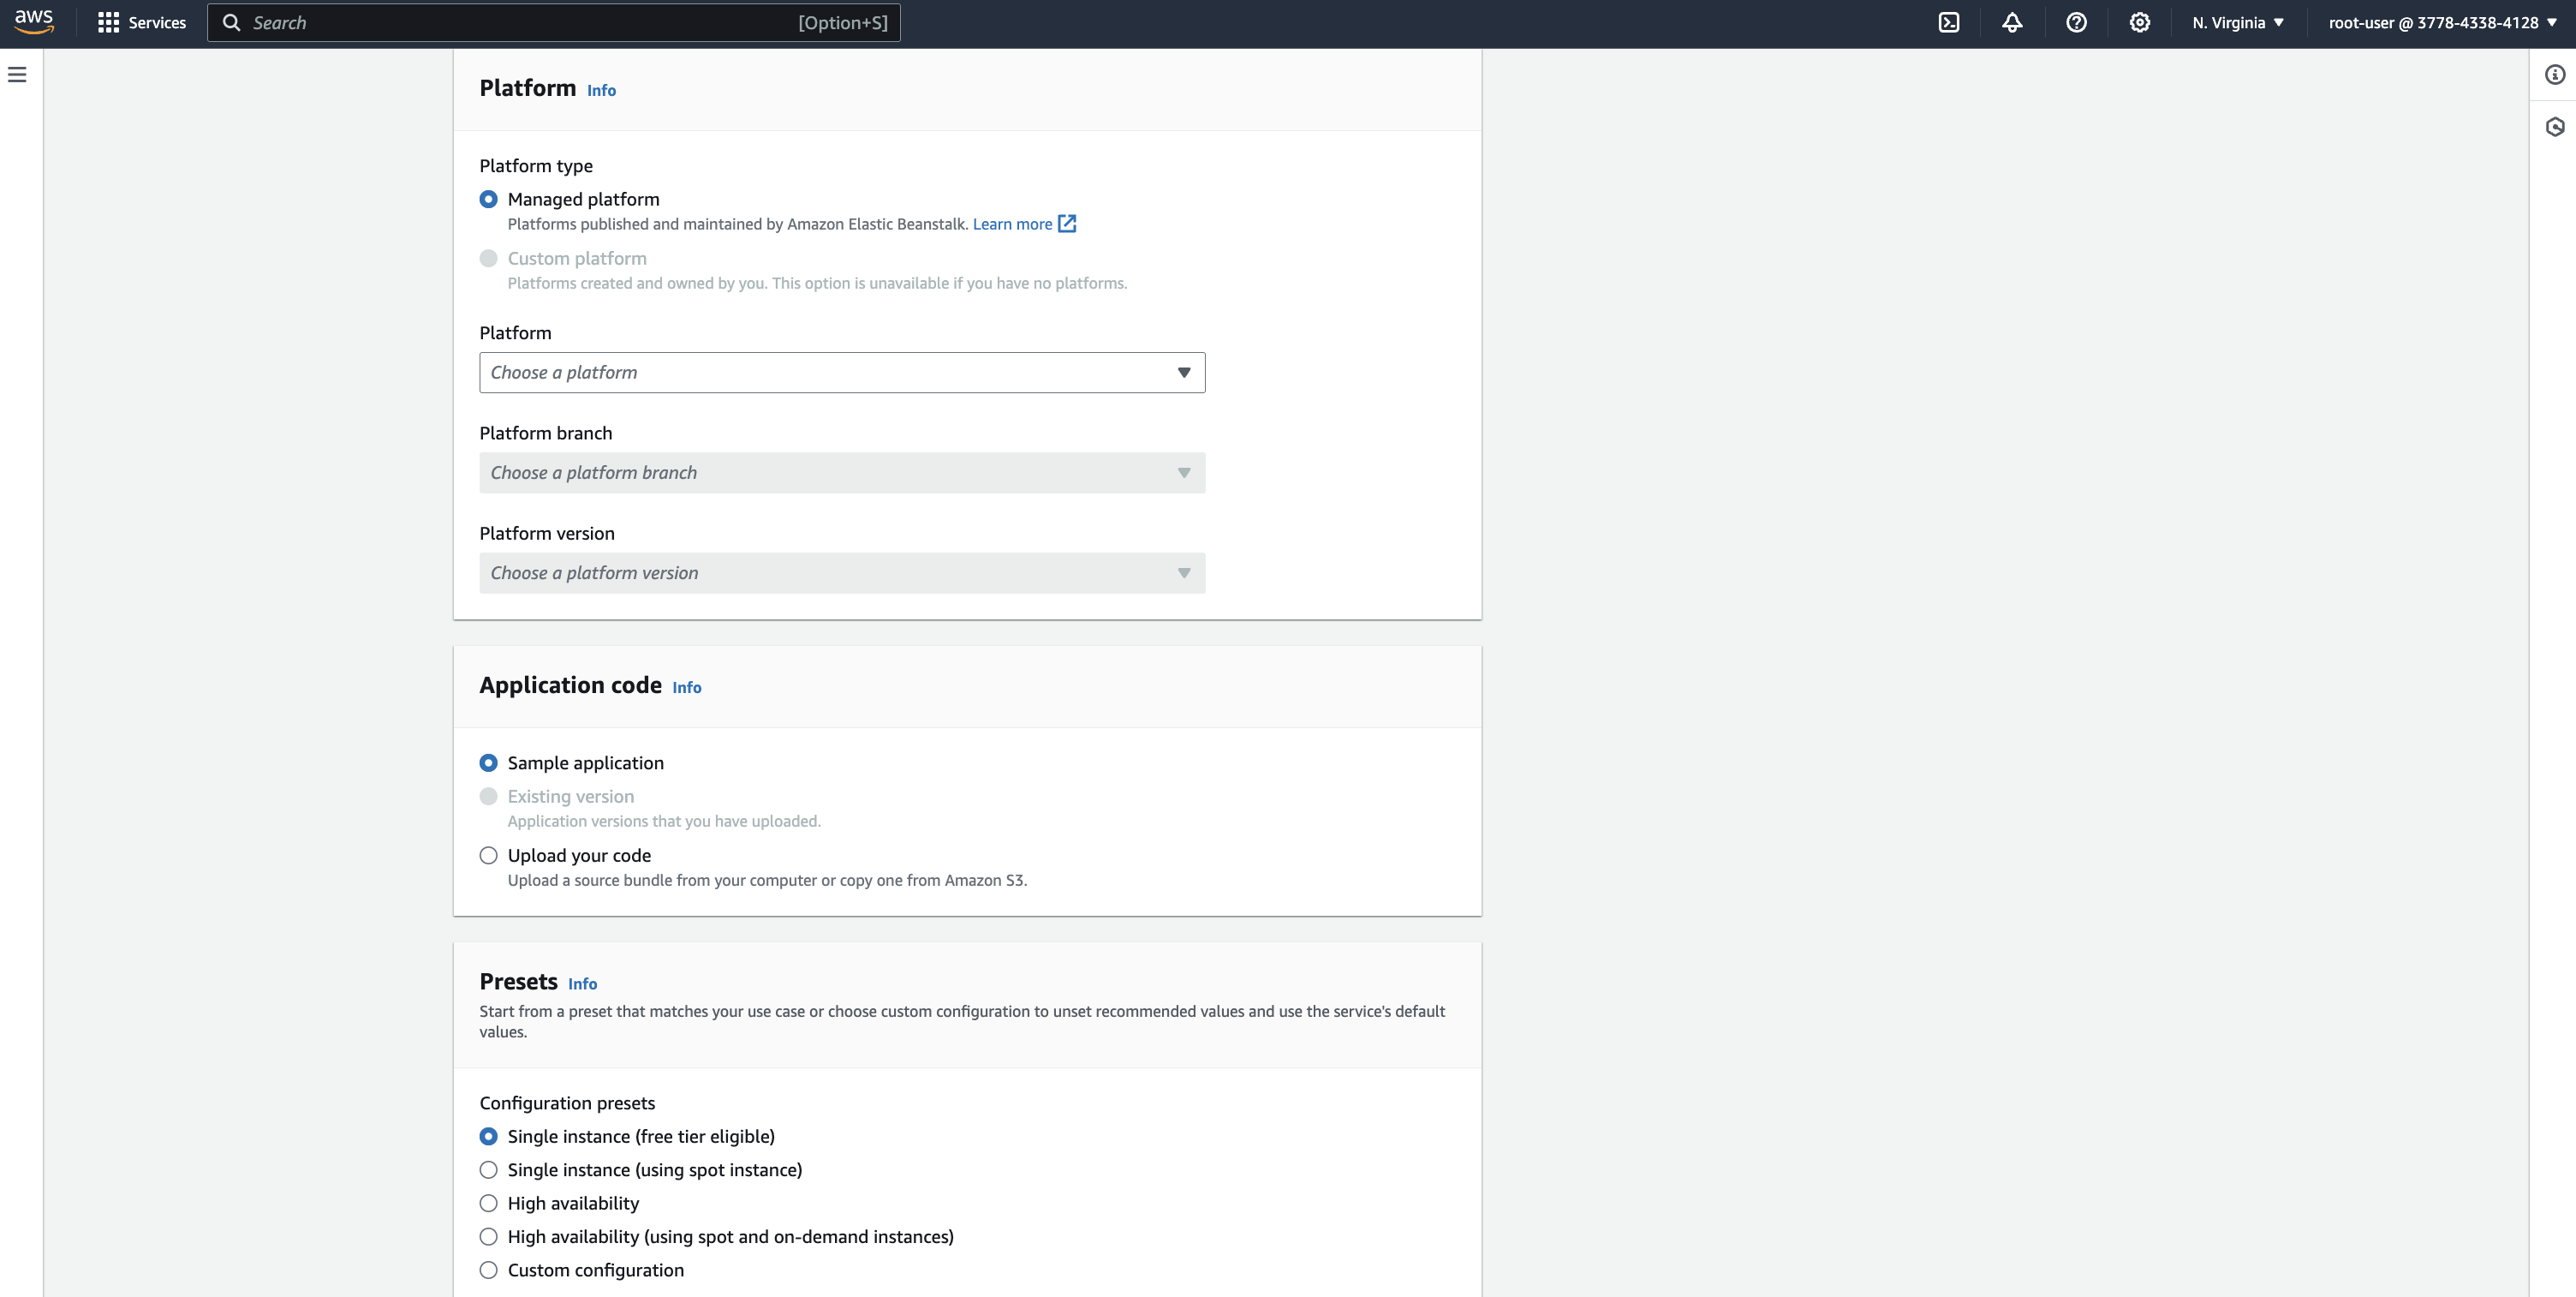
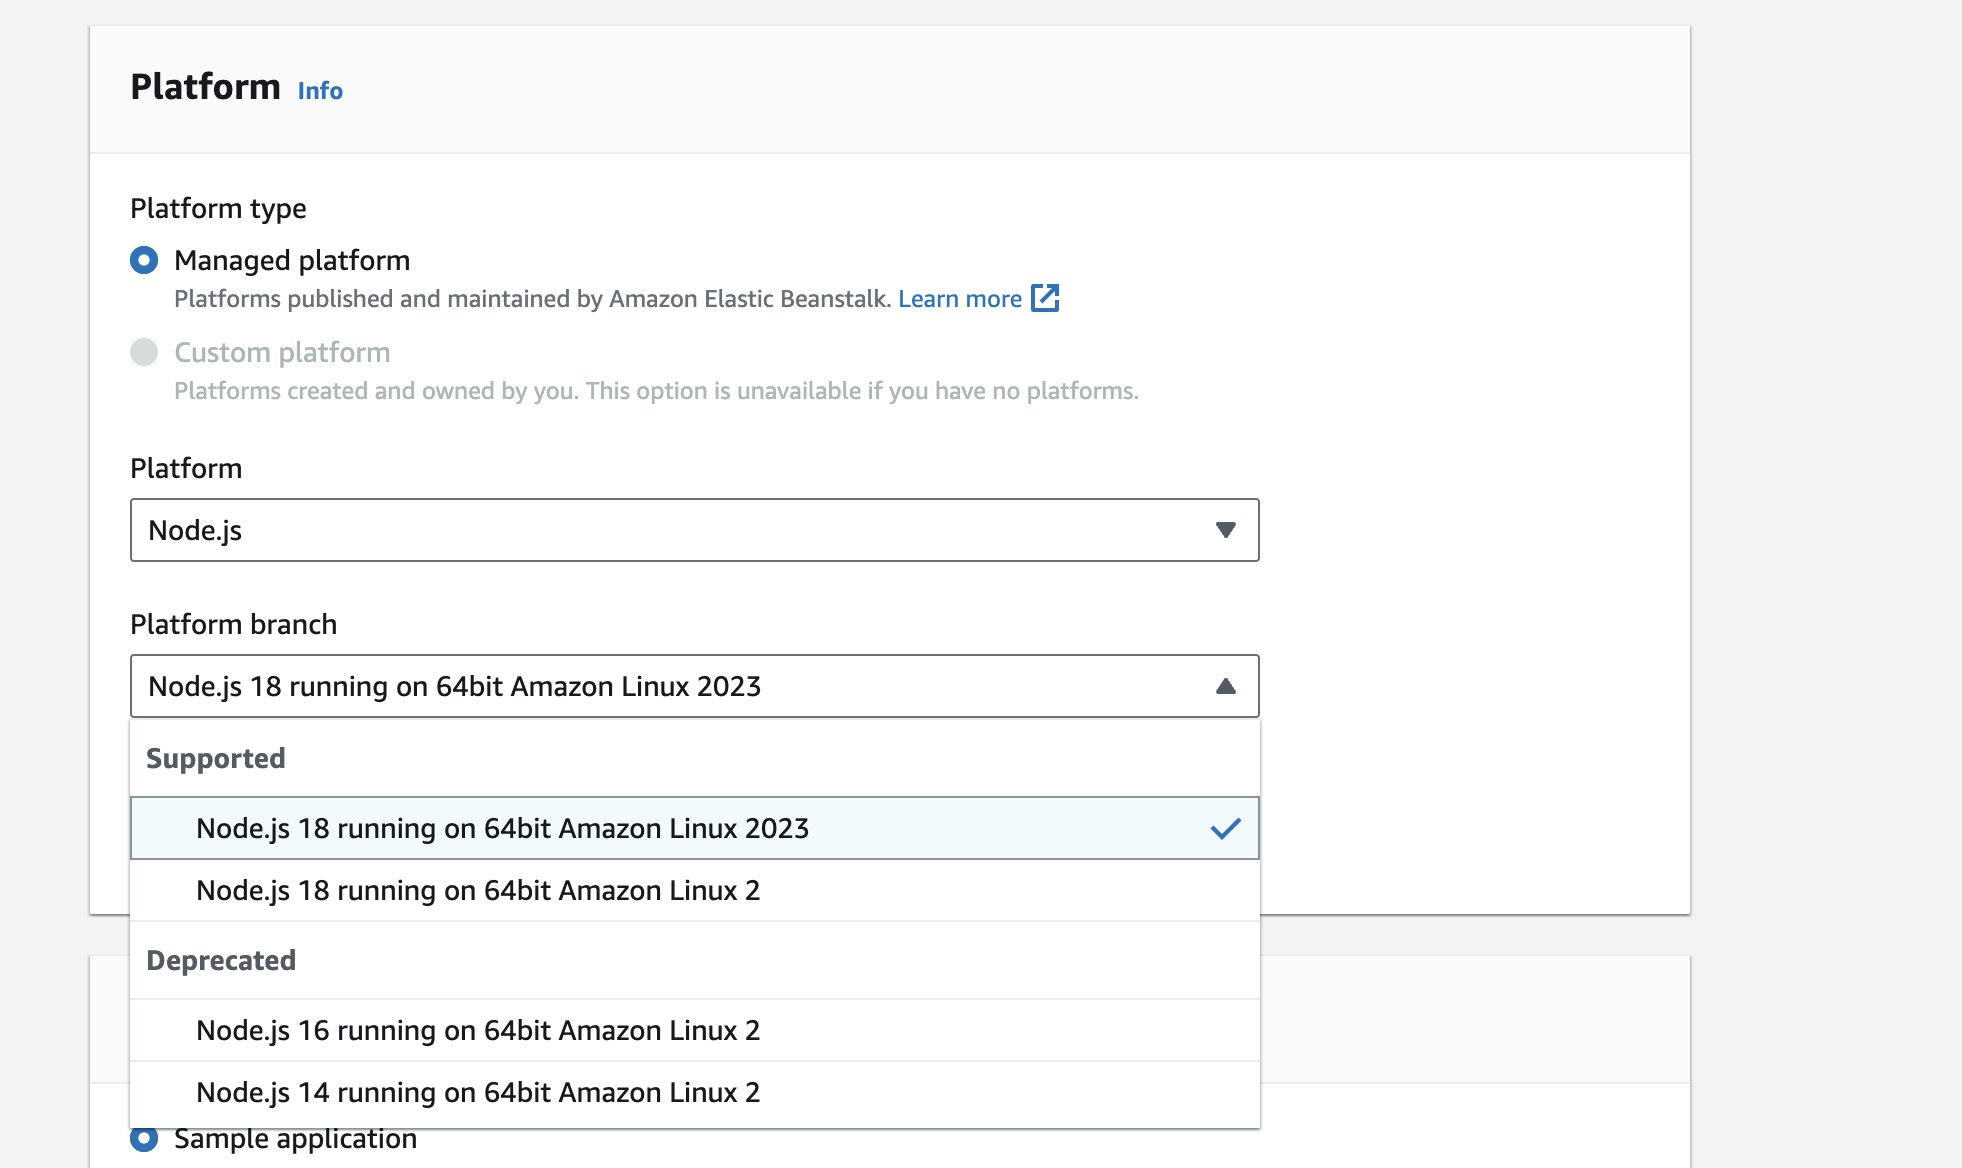
As you can see, Elastic Beanstalk currently supports various pre-configured platforms. But, this tutorial we will be using Node.js platform to run our application.

Once you select Node.js as a platform, you can configure which Node.js version that you want to use to run the server. At the time of writing, Node.js 18 is the latest version that is being supported in the platform. So, we will be using Node18 to run the application.
Another important configuration is choosing instance type for the application. It provides Single instance and multiple instances. We can choose single instance using spot instance or multiple instances using spot and on-demand instances.
For multiple instances, Elastic Beanstalk provides Load balancer to route the traffic across instances.
Note: Spot instances are unused AWS EC2 computing capacity that are available at discounted price where on-demand instances are computing capacity that are available when needed. you pay only for the seconds or hours that the instance is in running state.
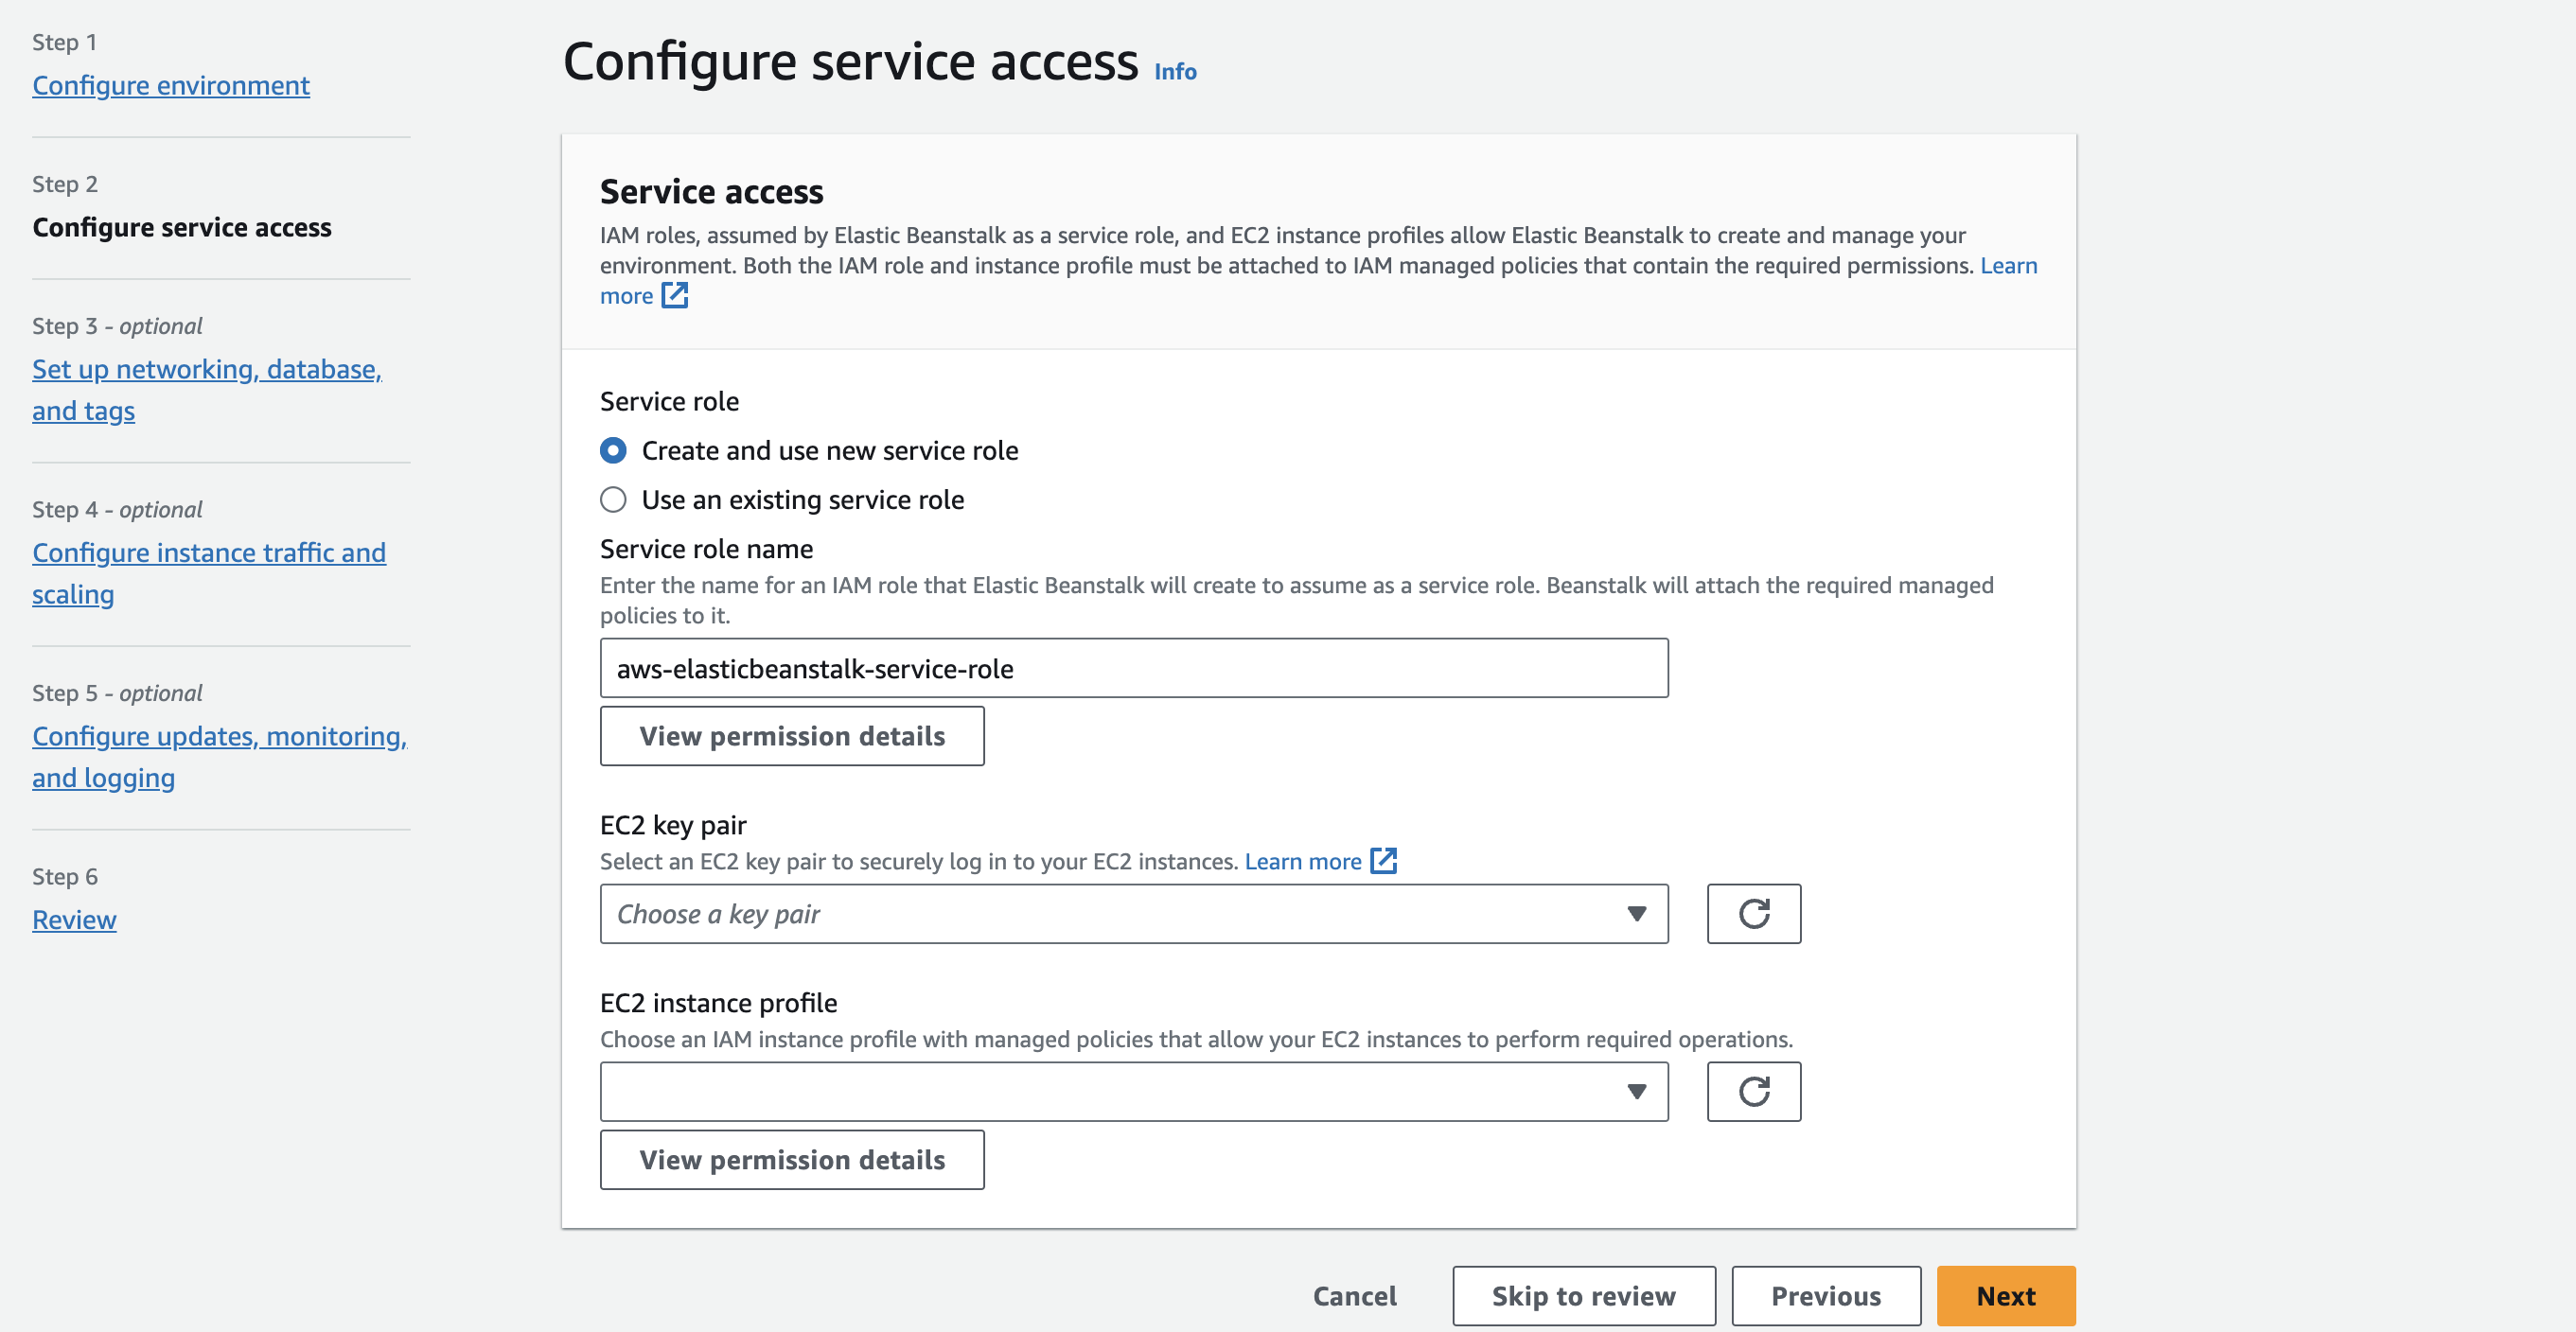
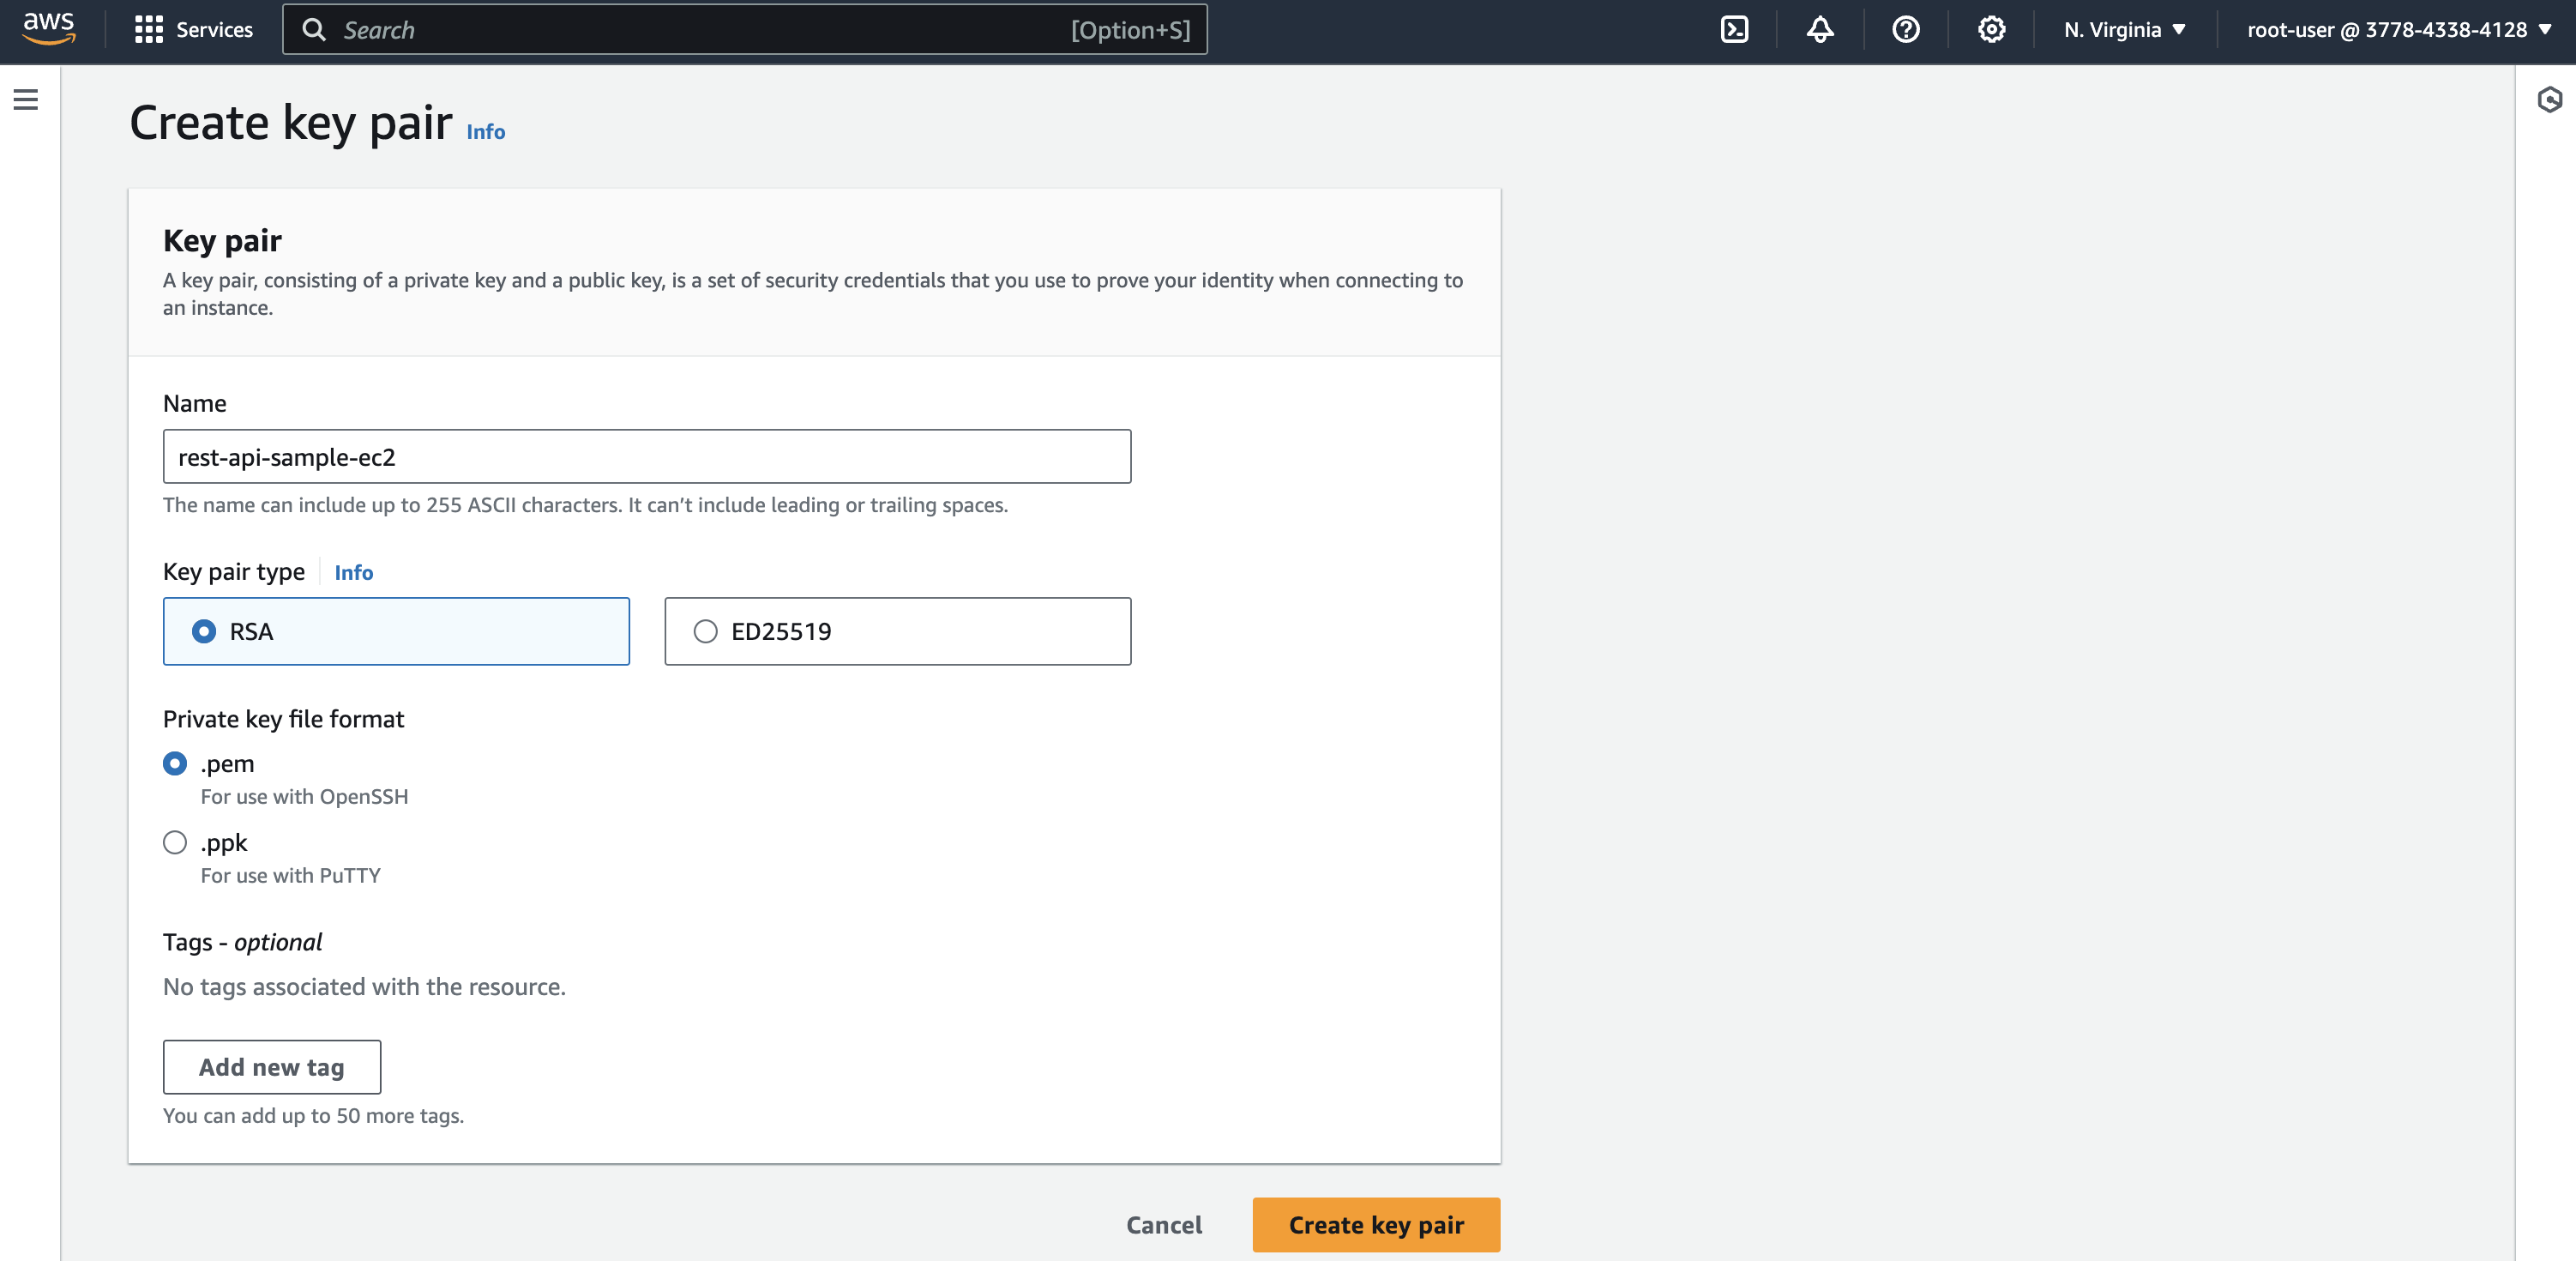
To configure service access, we need EC2 Key pair and EC2 instance profile that allow Elastic Beanstalk to provision EC2 instance. EC2 instance profile is nothing but an IAM Role that allow AWS services to access resources.
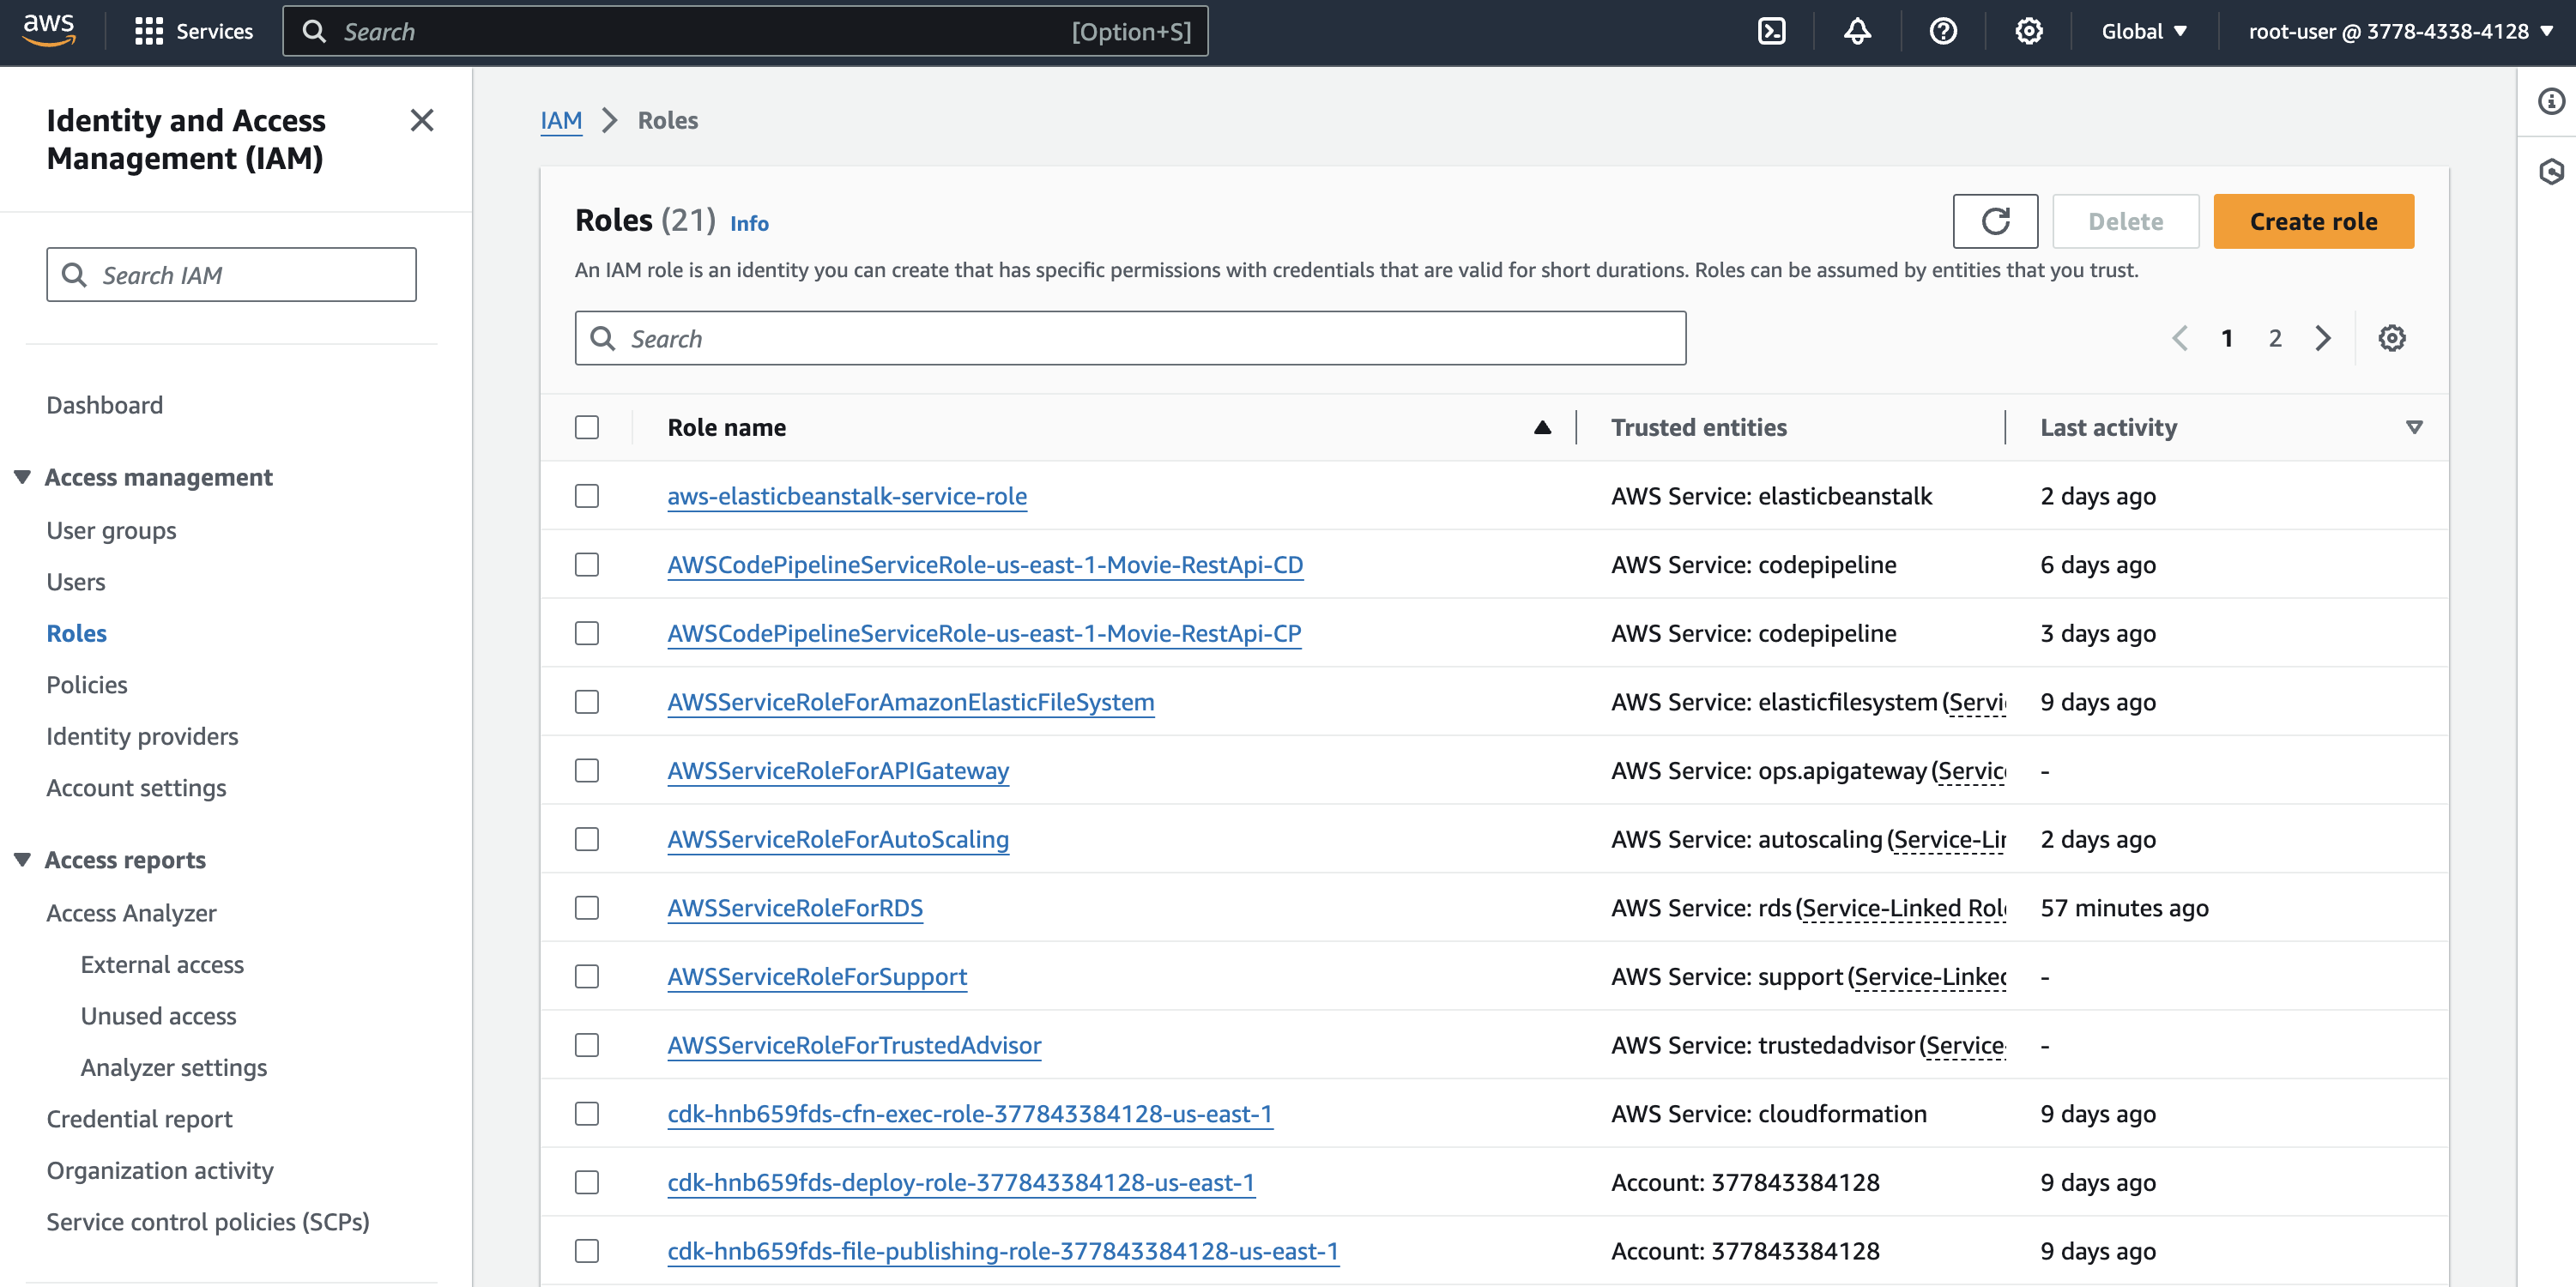
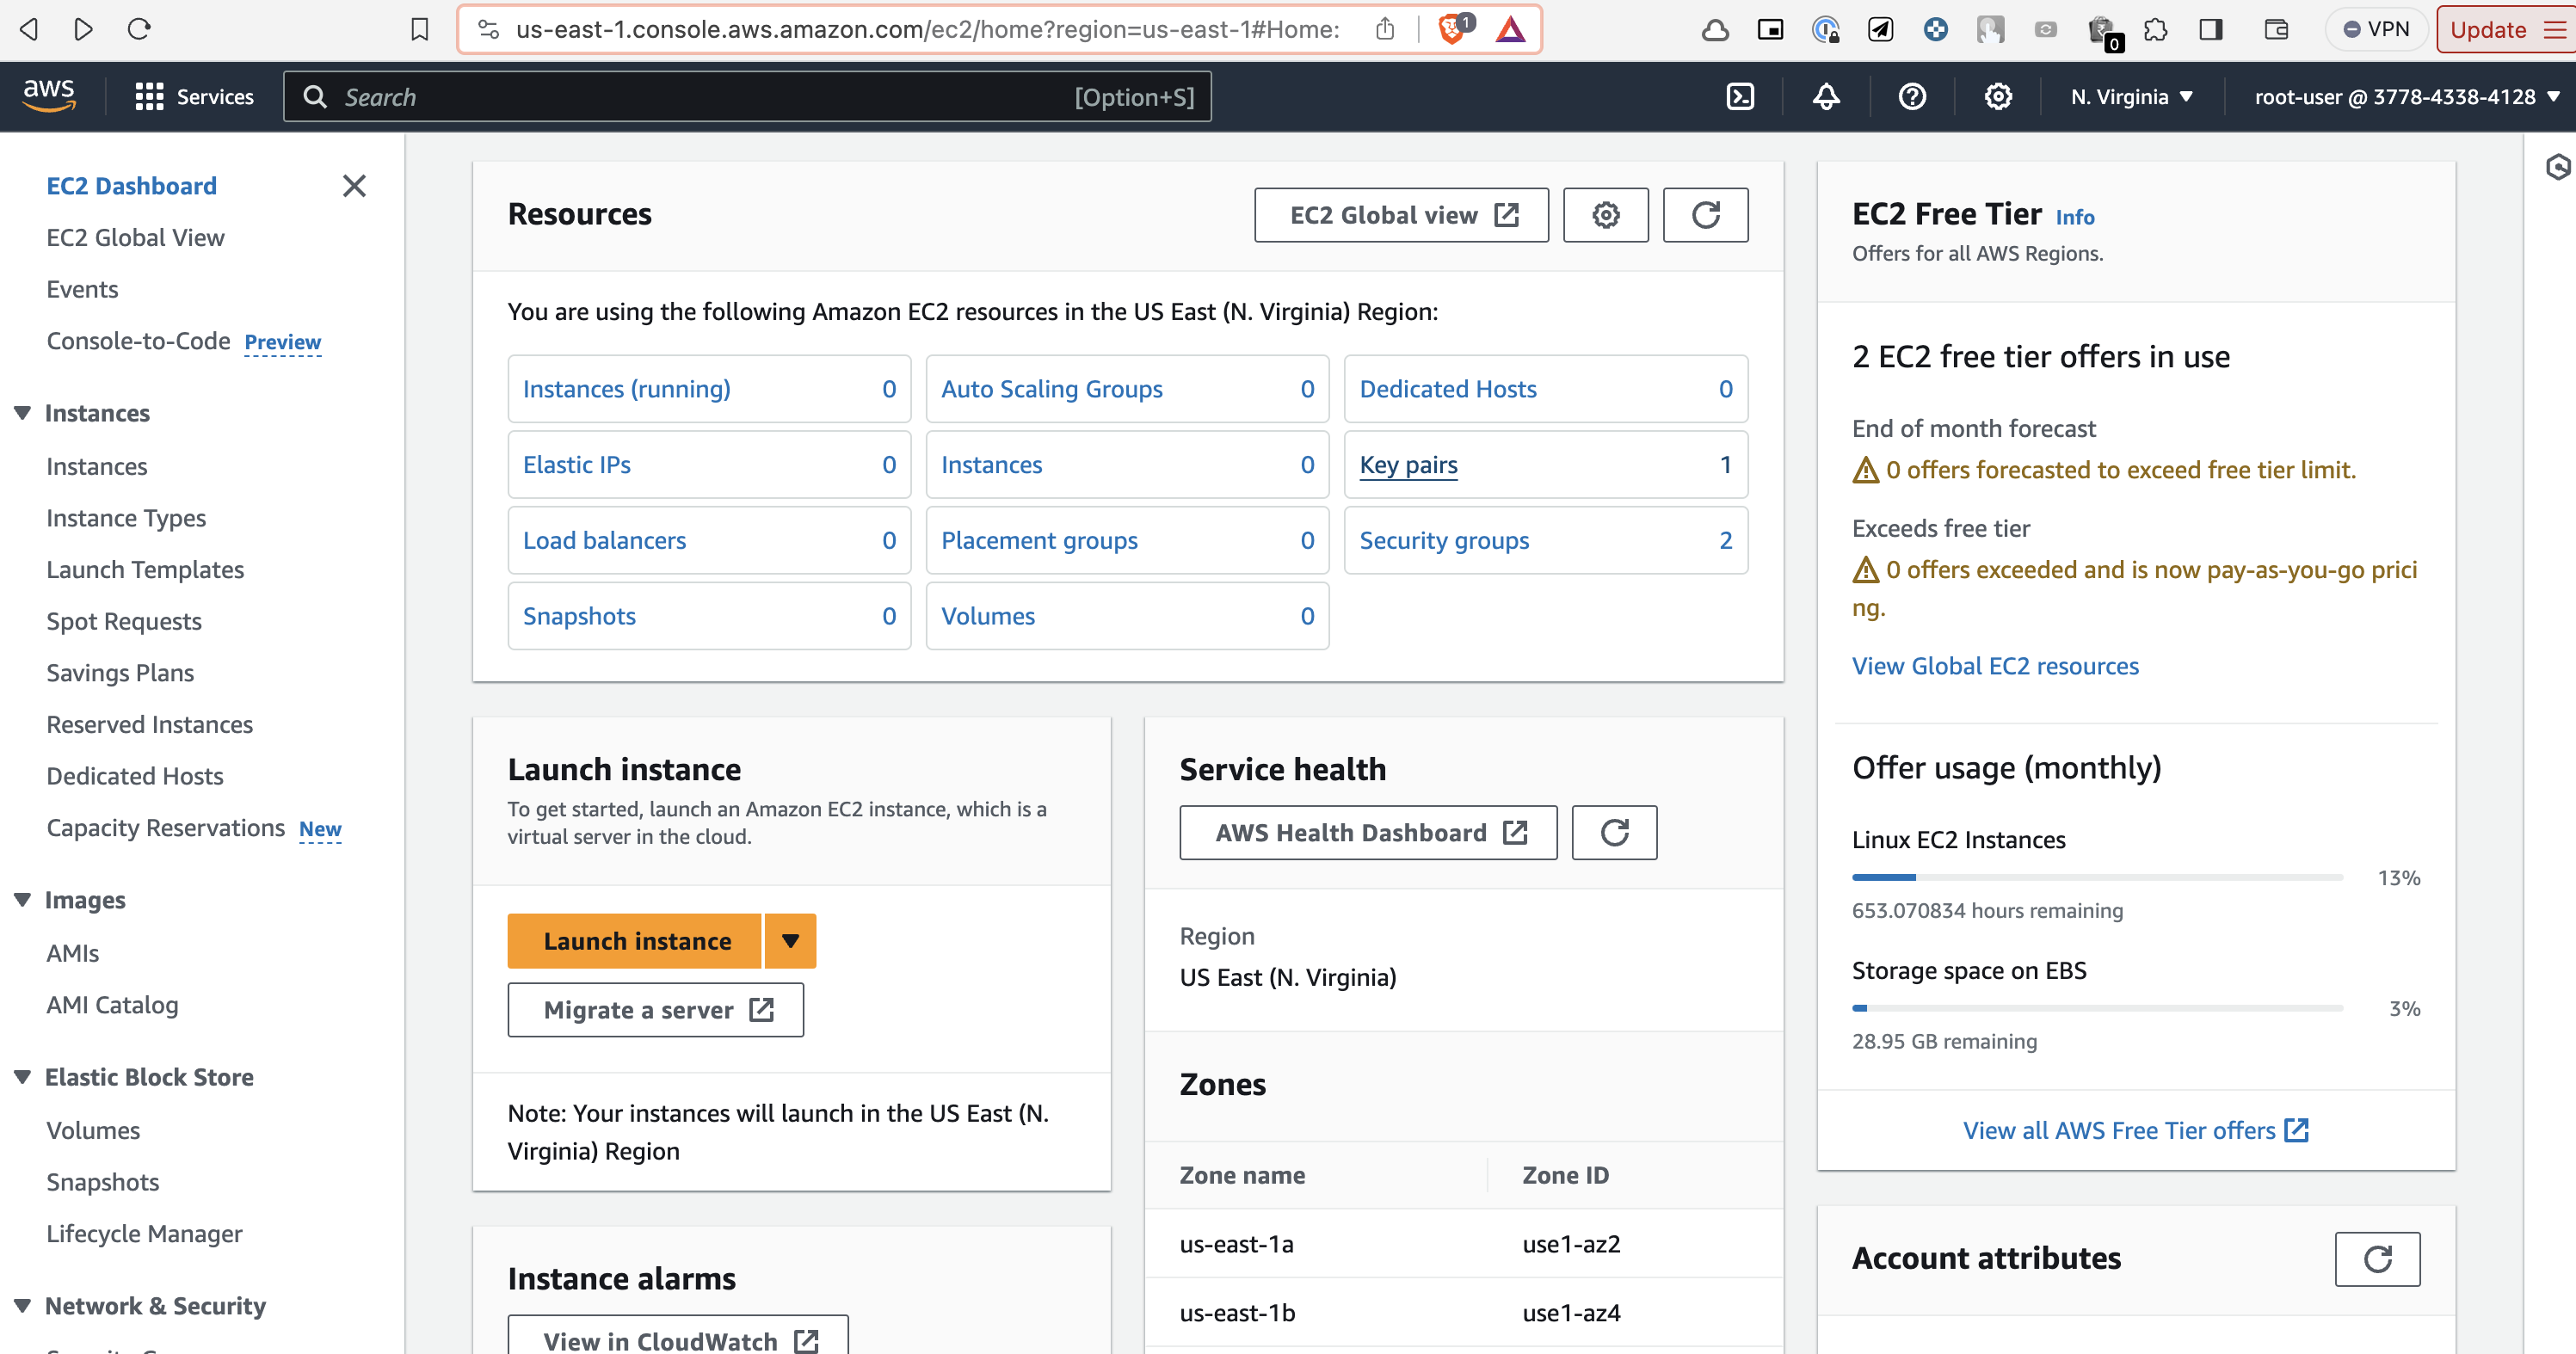
Go to EC2 Dashboard and click Key pairs to create EC2 Key pairs.

Now we have key pairs to access EC2 instance. Let’s configure IAM roles that allows Elastic Beanstalk to provision and manage AWS resources in the account.
Go to IAM → Roles and click on Create role.
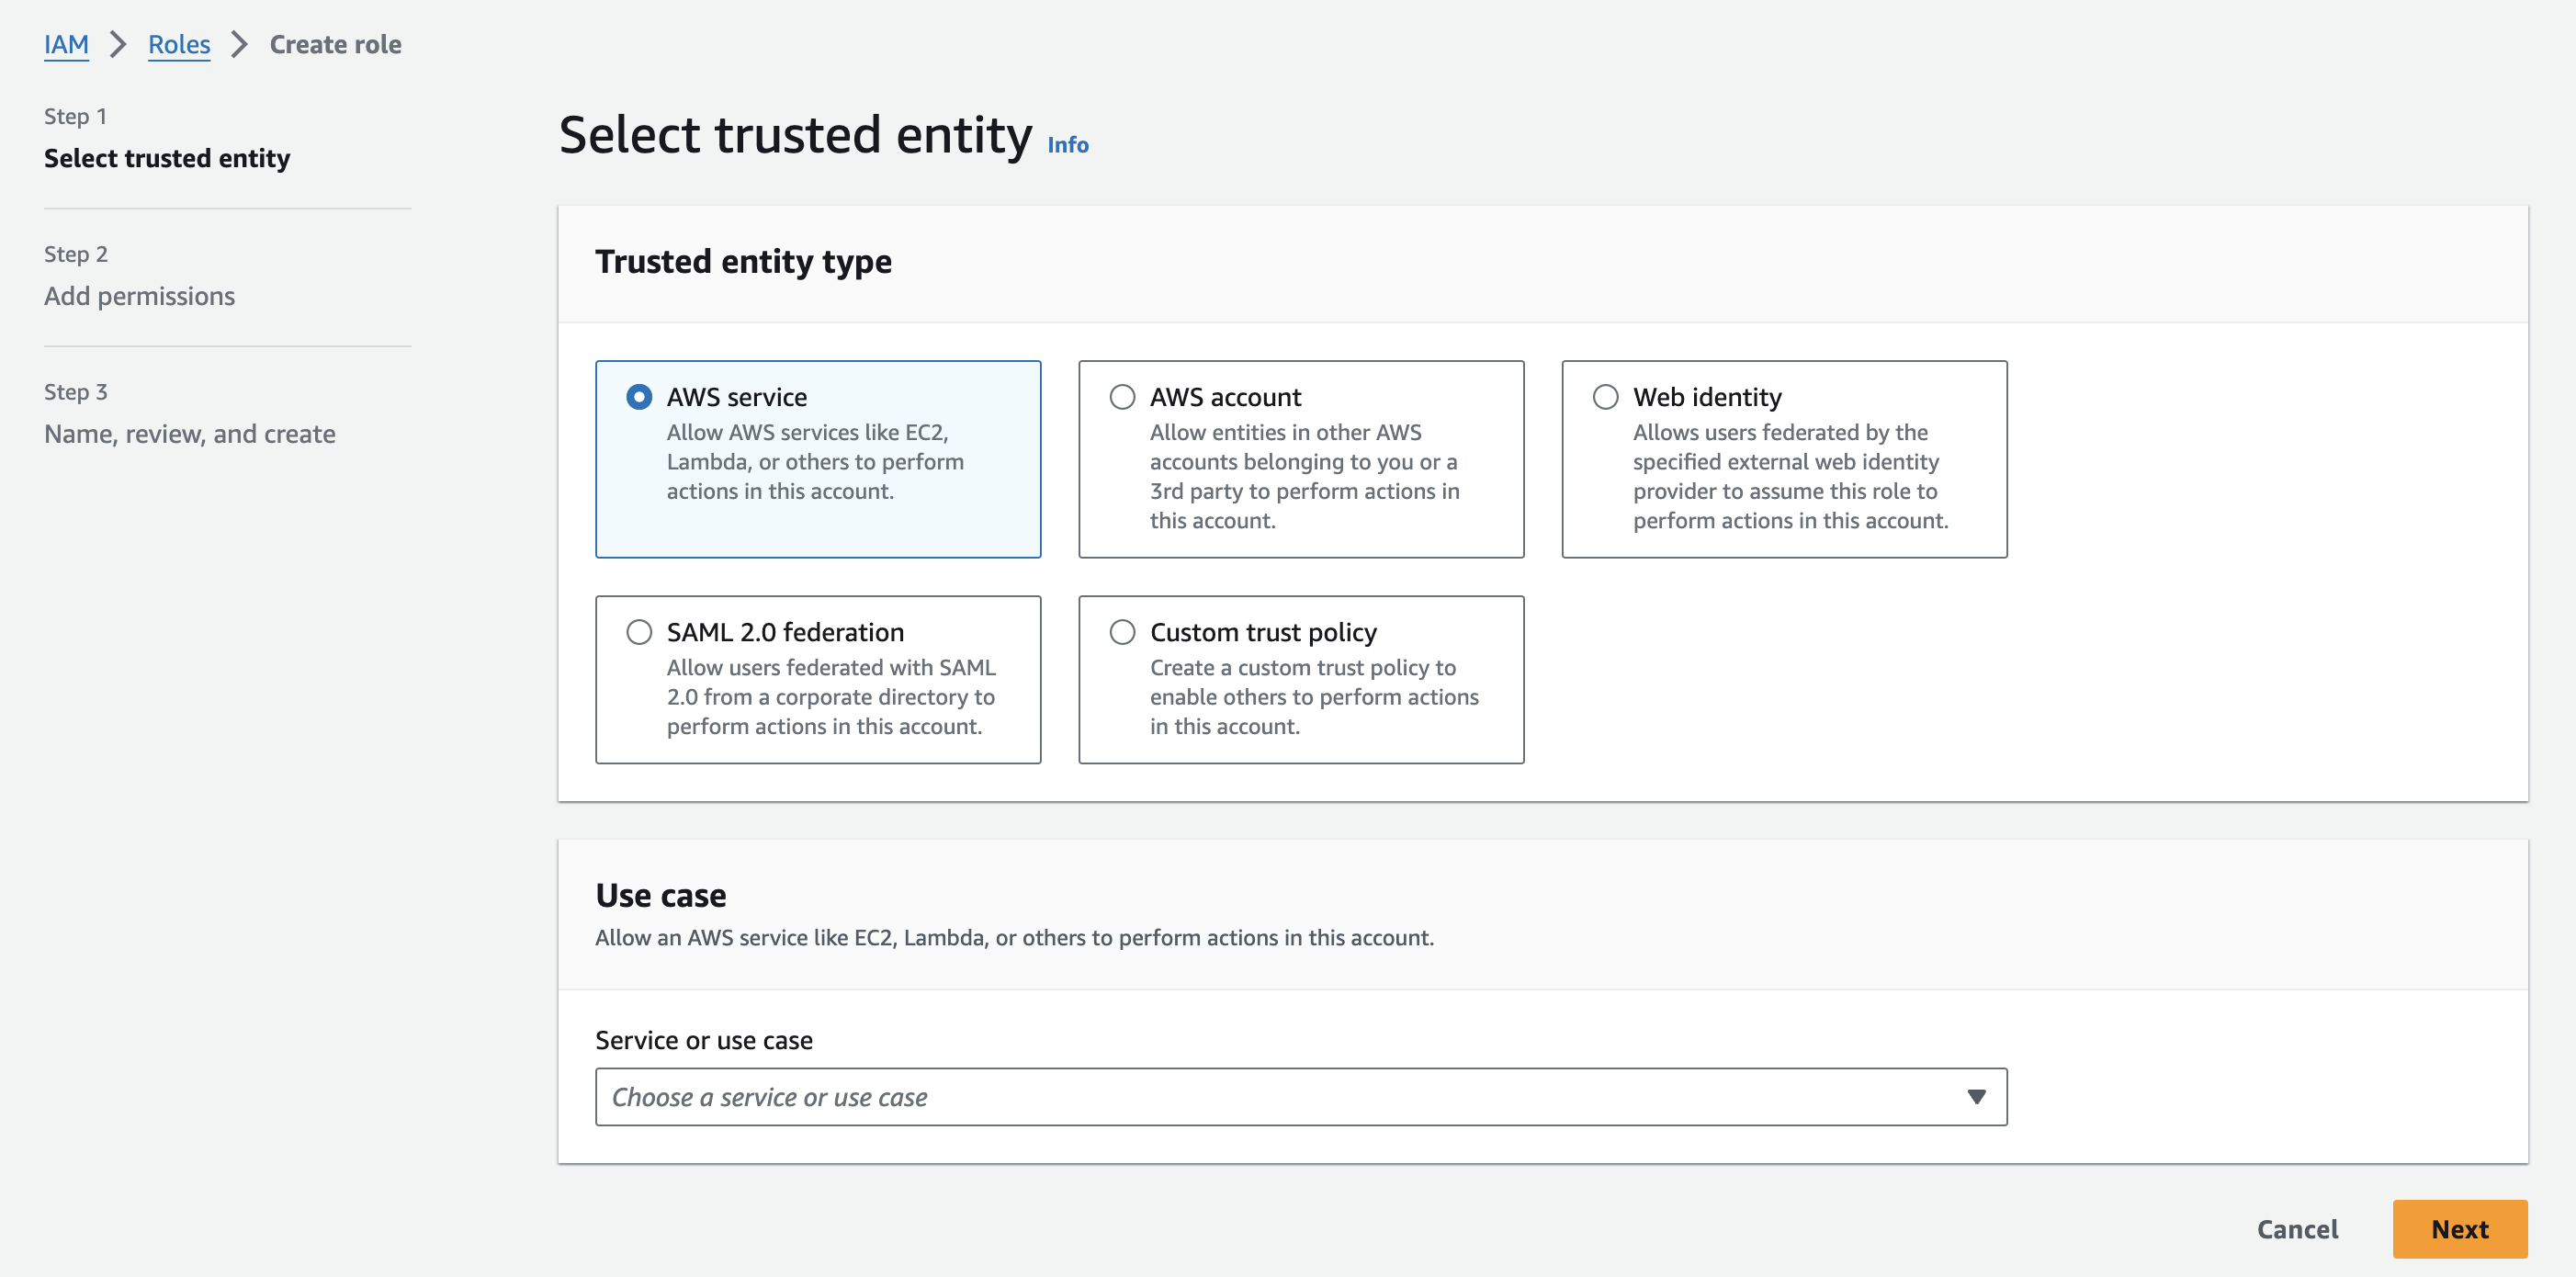
Since we are allowing Elastic Beanstalk to create and manage resource, Select AWS service as entity type.
For the Use case, select EC2 and click Next.

In terms of adding permissions to IAM Role, we mainly need
AWSElasticBeanstalkMulticontainerDockerAWSElasticBeanstalkWebTierAWSElasticBeanstalkWorkerTier
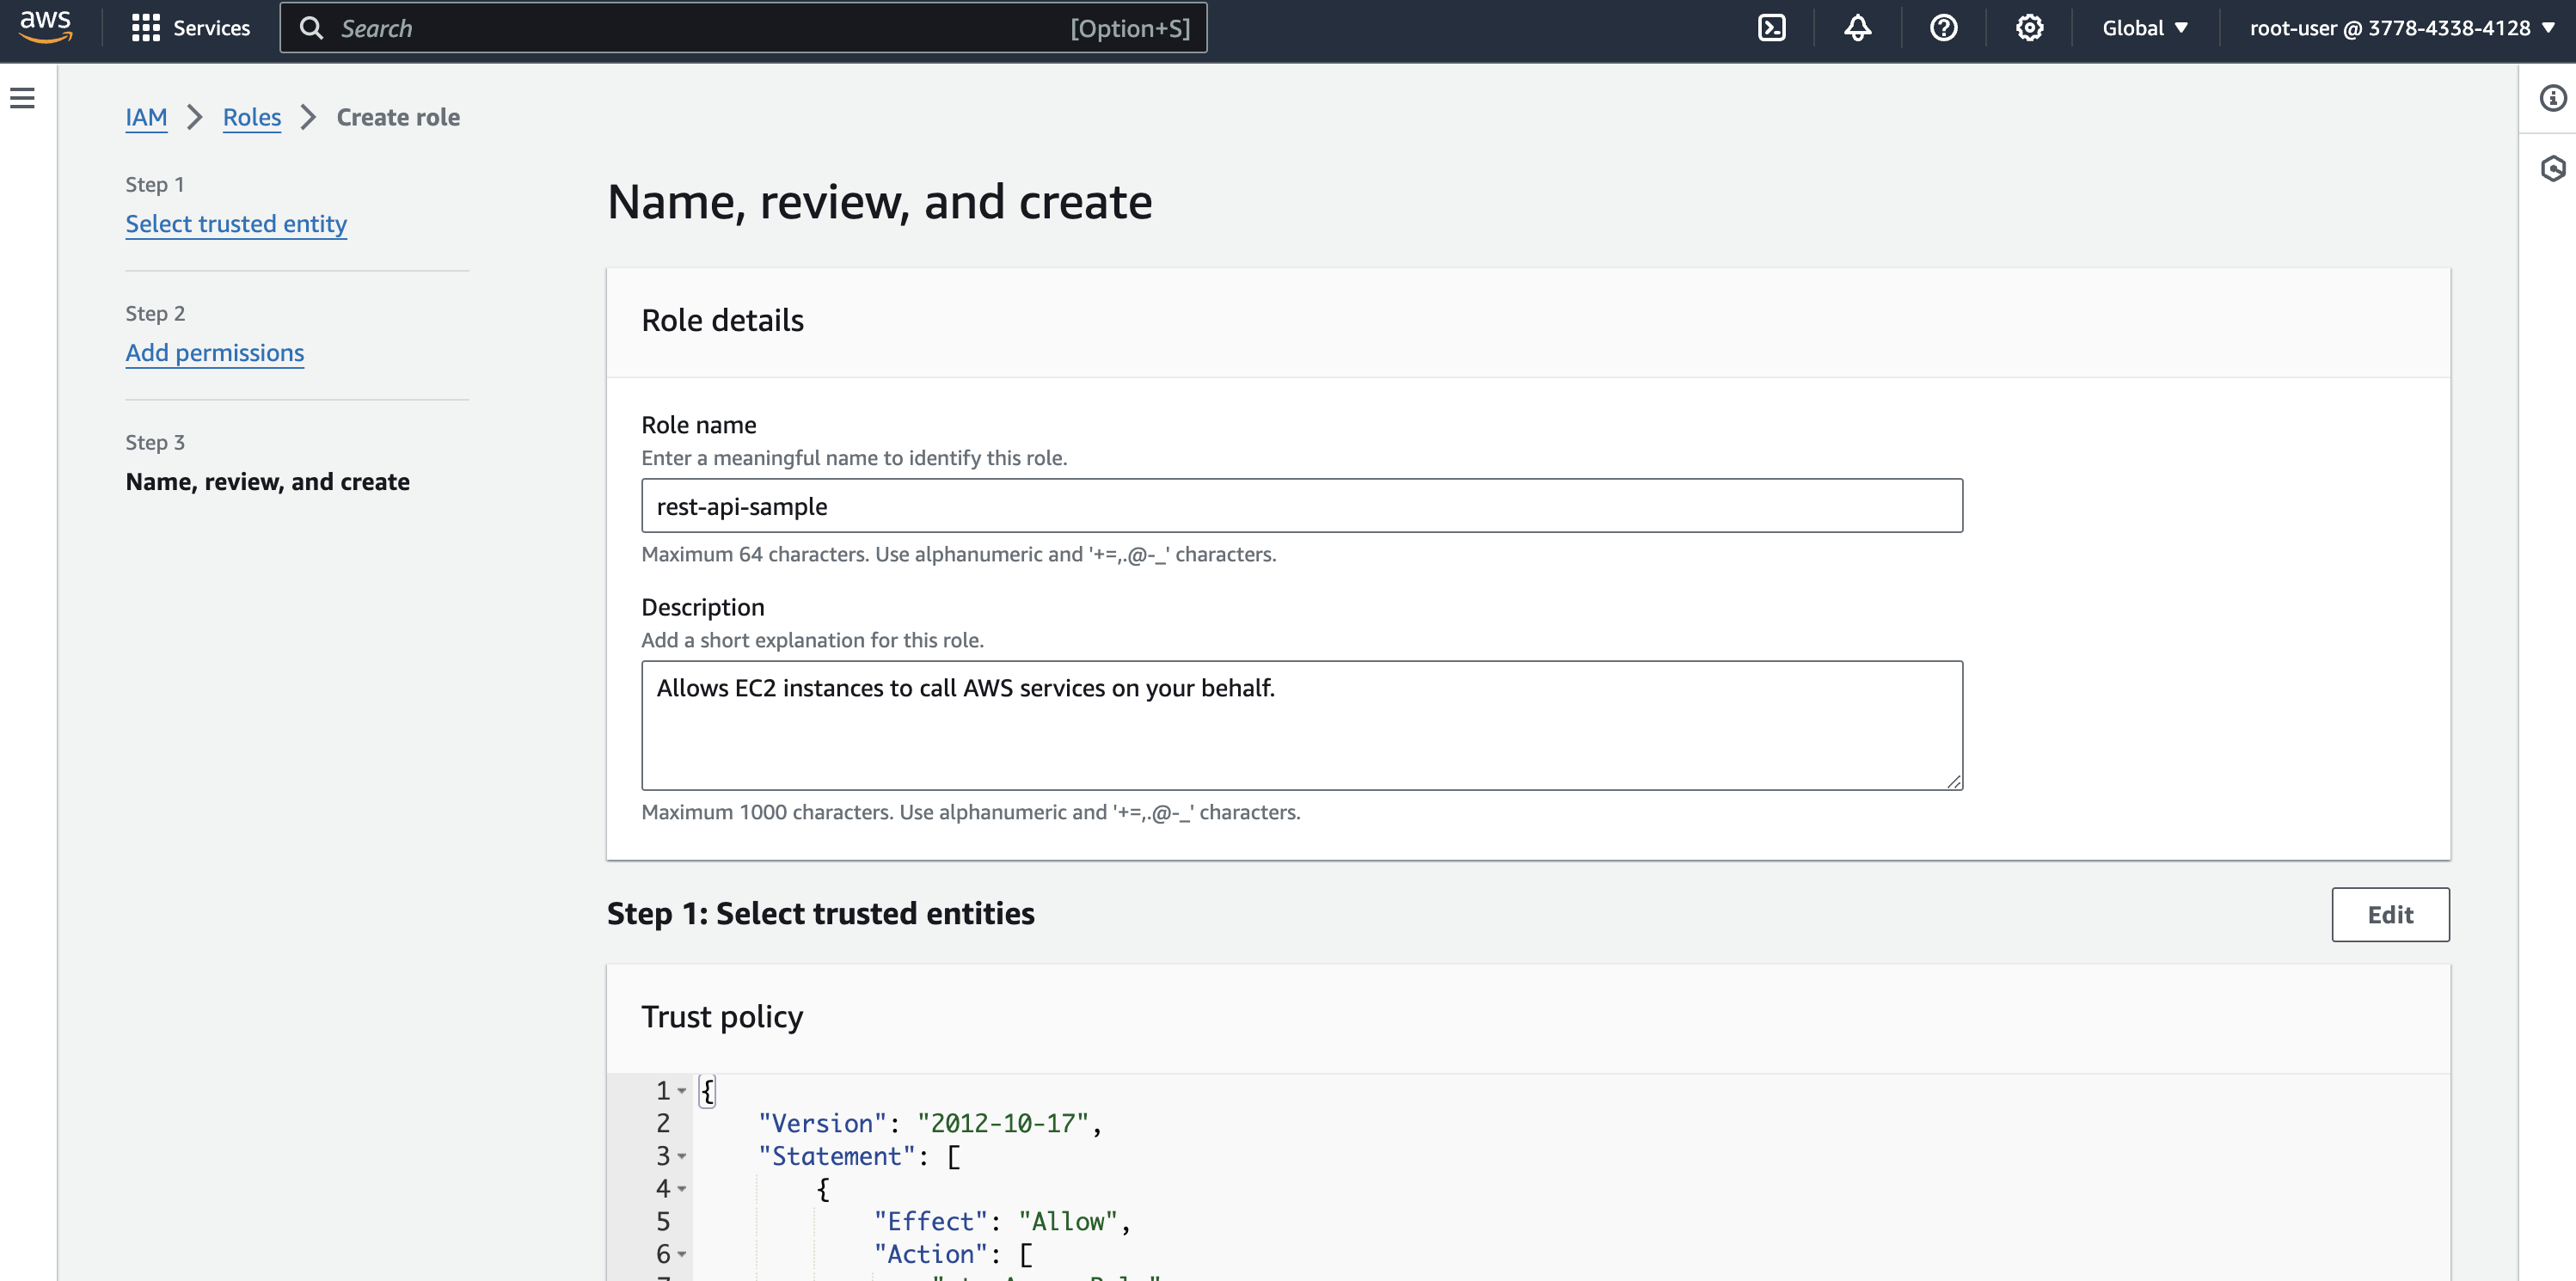
Finally provide a name for IAM role and create it.
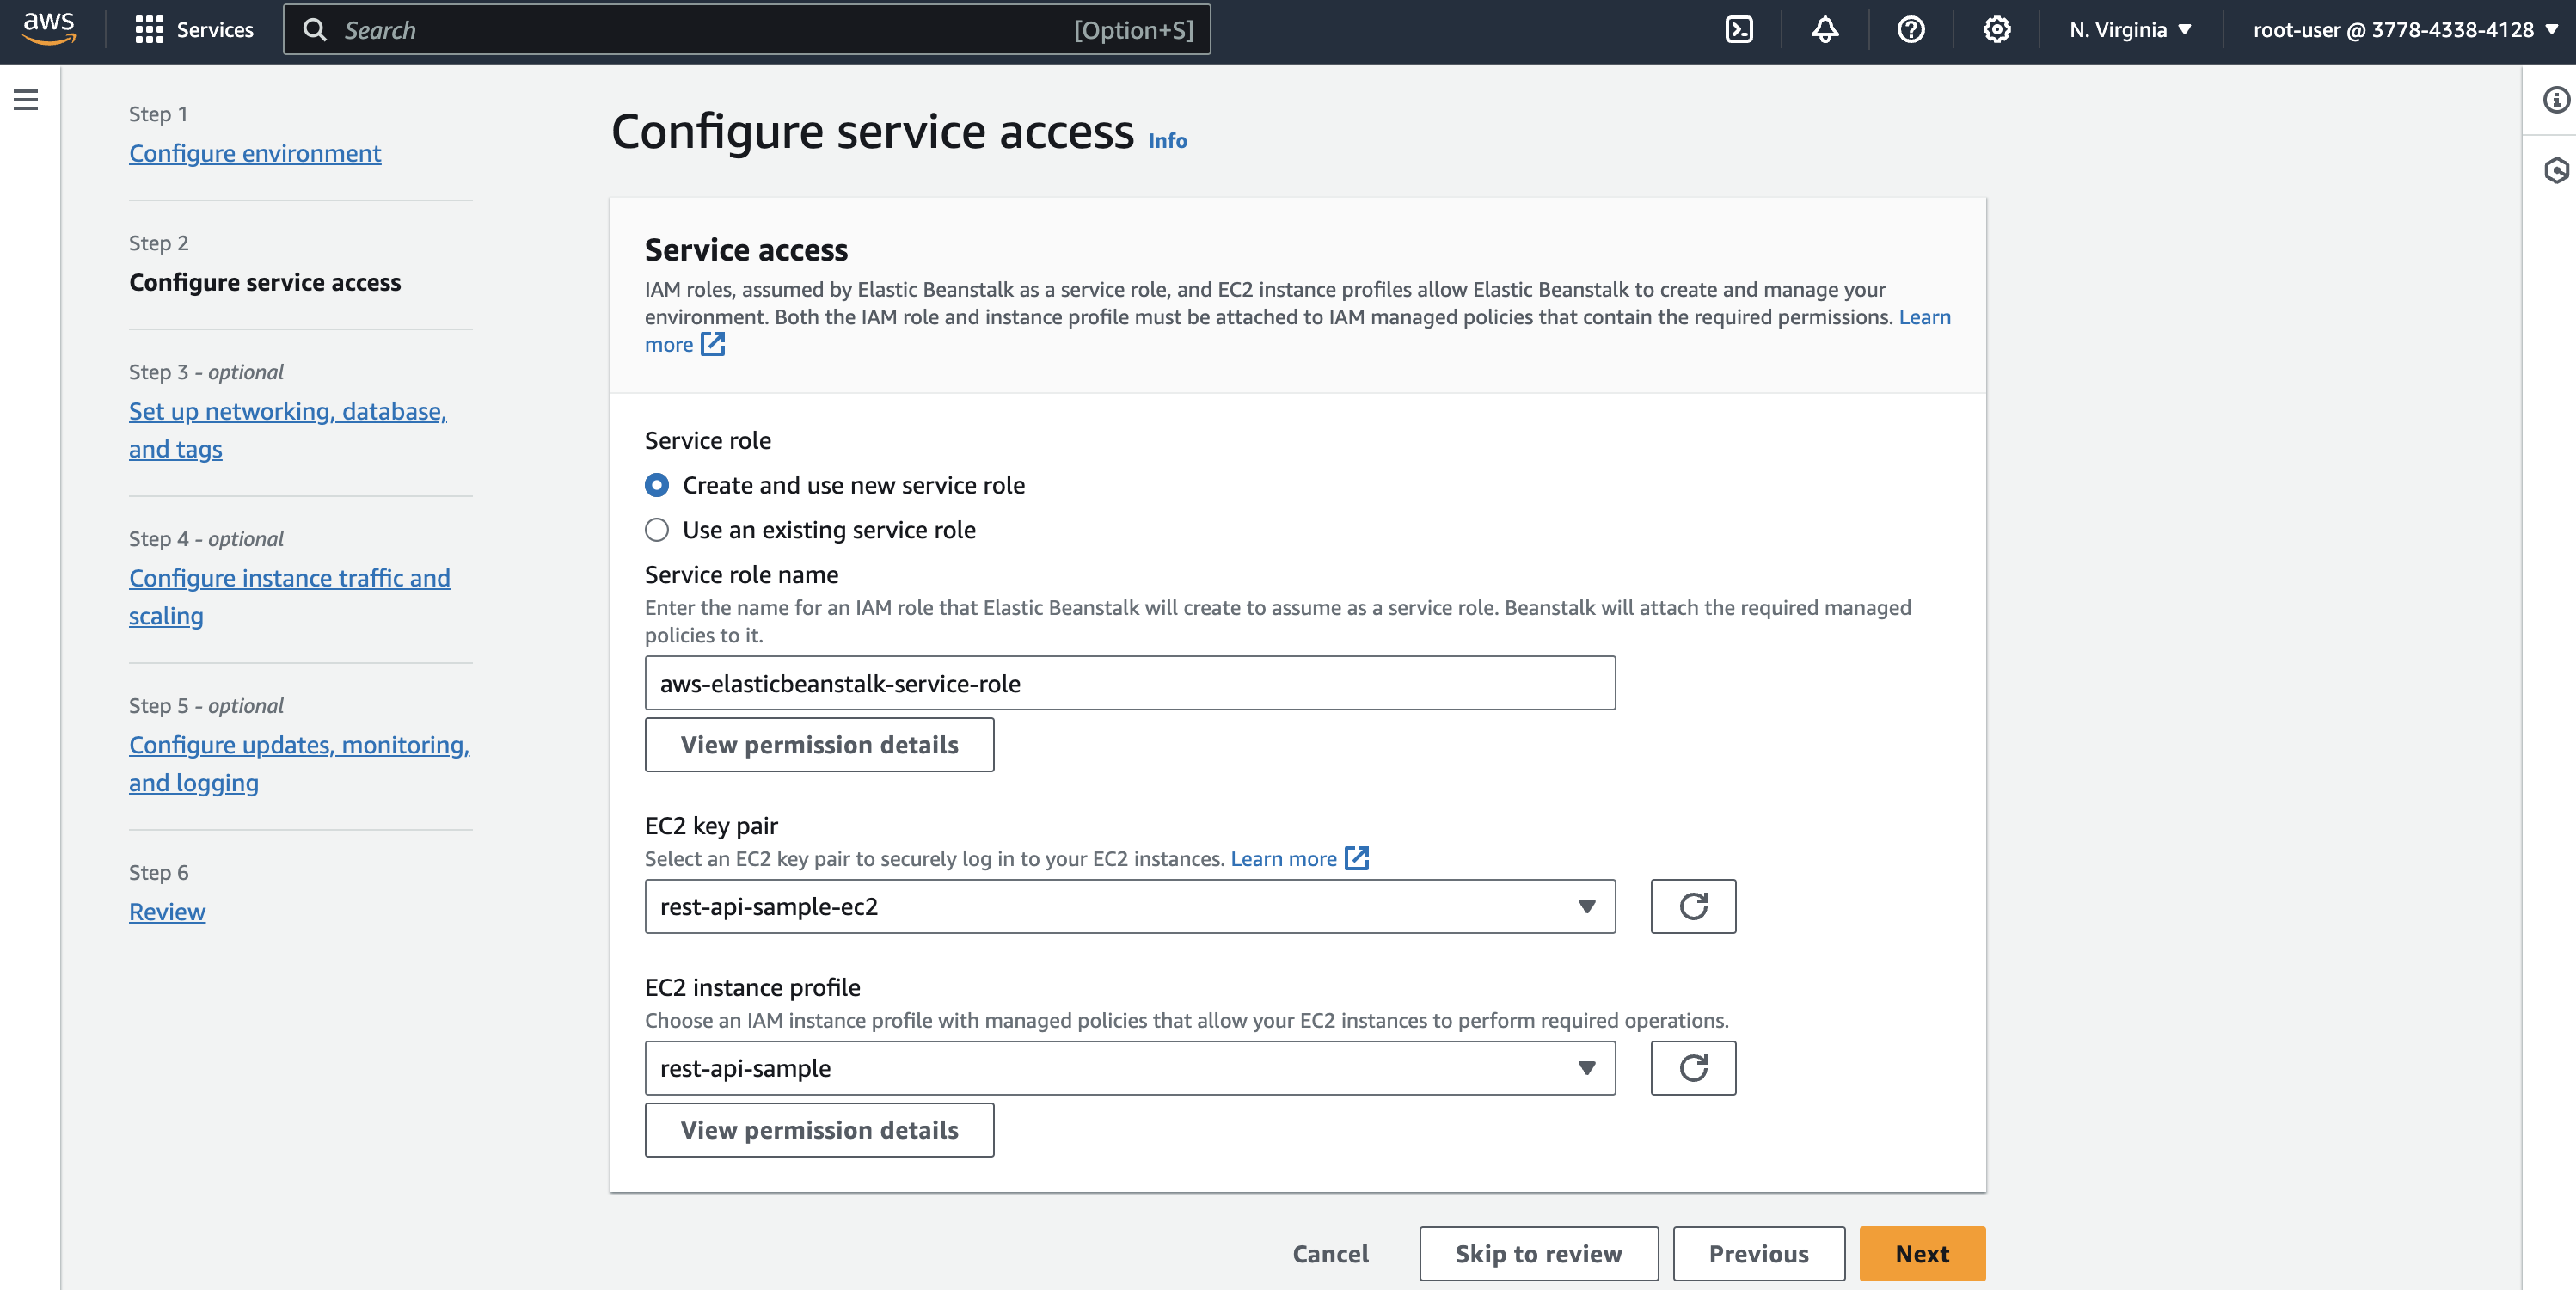
Finally, We have both key pair and IAM Role to configure service access in Elastic Beanstalk.
Since we are deploying a sample application without database connection, we will skip step 3. We will discuss how to configure AWS RDS with Node.js/Typescript application in the next part of this series.

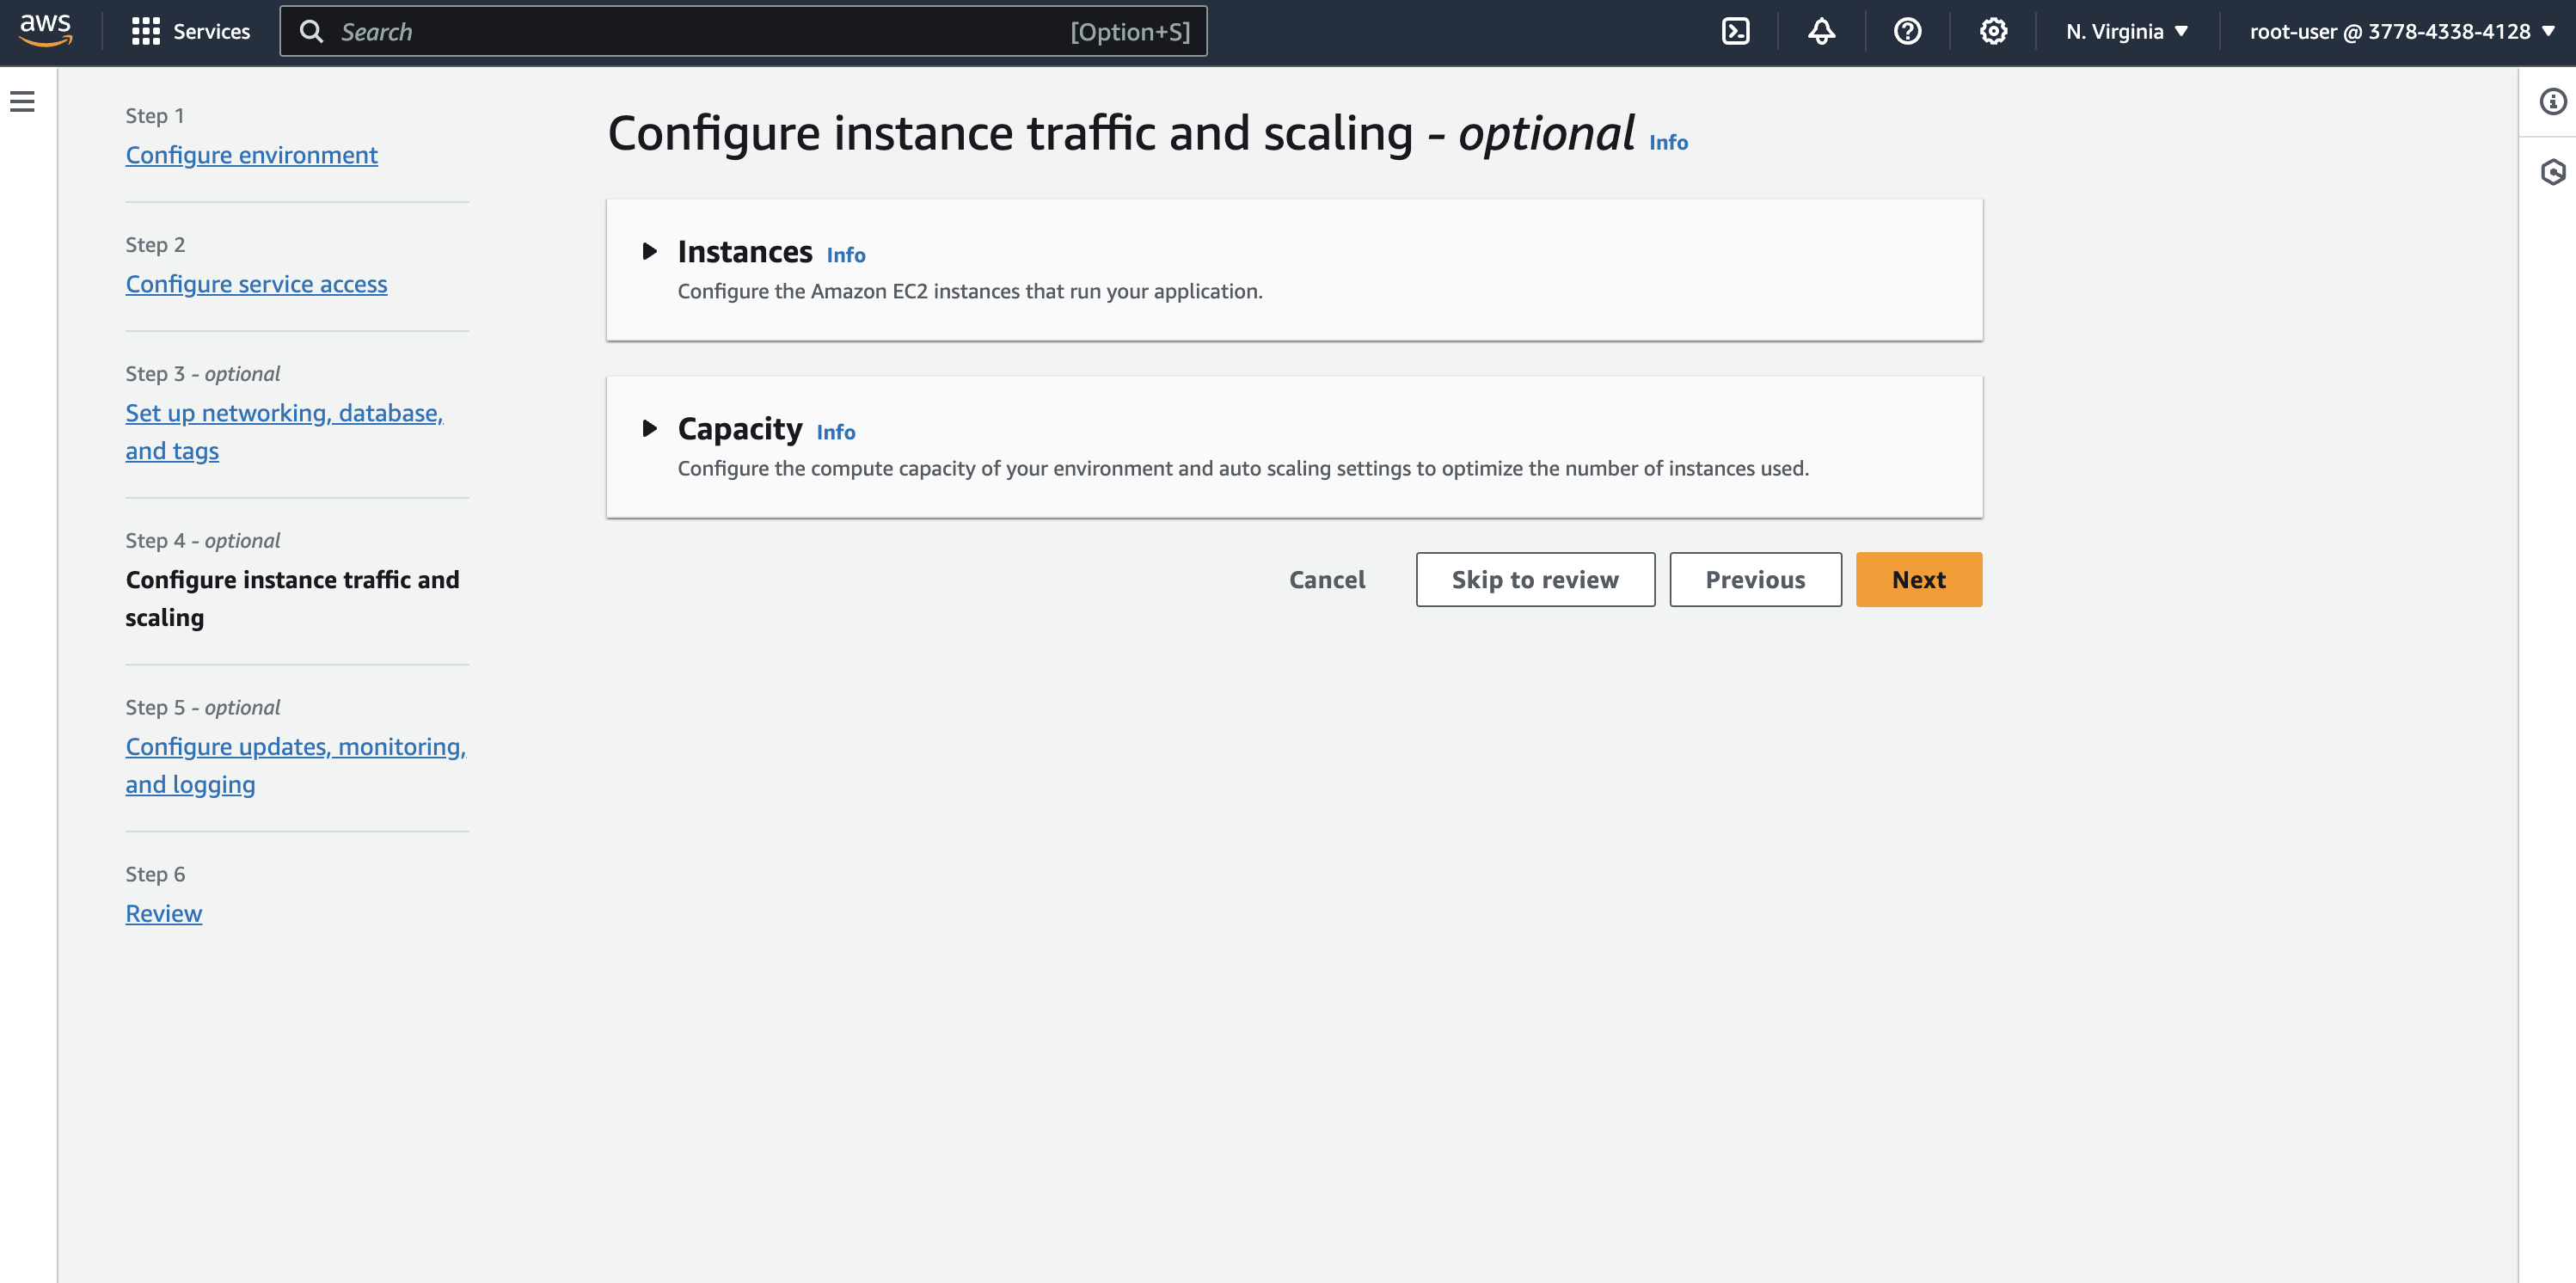
Step 4 allows us to configure instance type, size, architecture, cloudwatch monitoring interval, EC2 instance security group etc.
Security group allows inbound and outbound traffic to the instance. As you can see, default security group is pre-selected and it allows all type of traffic/ports to the instance. We can customize it by creating a separate security group and attach it to the Elastic Beanstalk.
We are going to use default instance configuration move into the final configuration which is configuring monitoring and logging. Elastic Beanstalk attach cloudwatch by default to log different metrics of an environment. It select Enhanced health reporting by default and you can select different kind of metric of an instance to monitor.

For this application, i am going to choose ApplicationRequestsTotal, InstanceHealthand InstancesInfo.
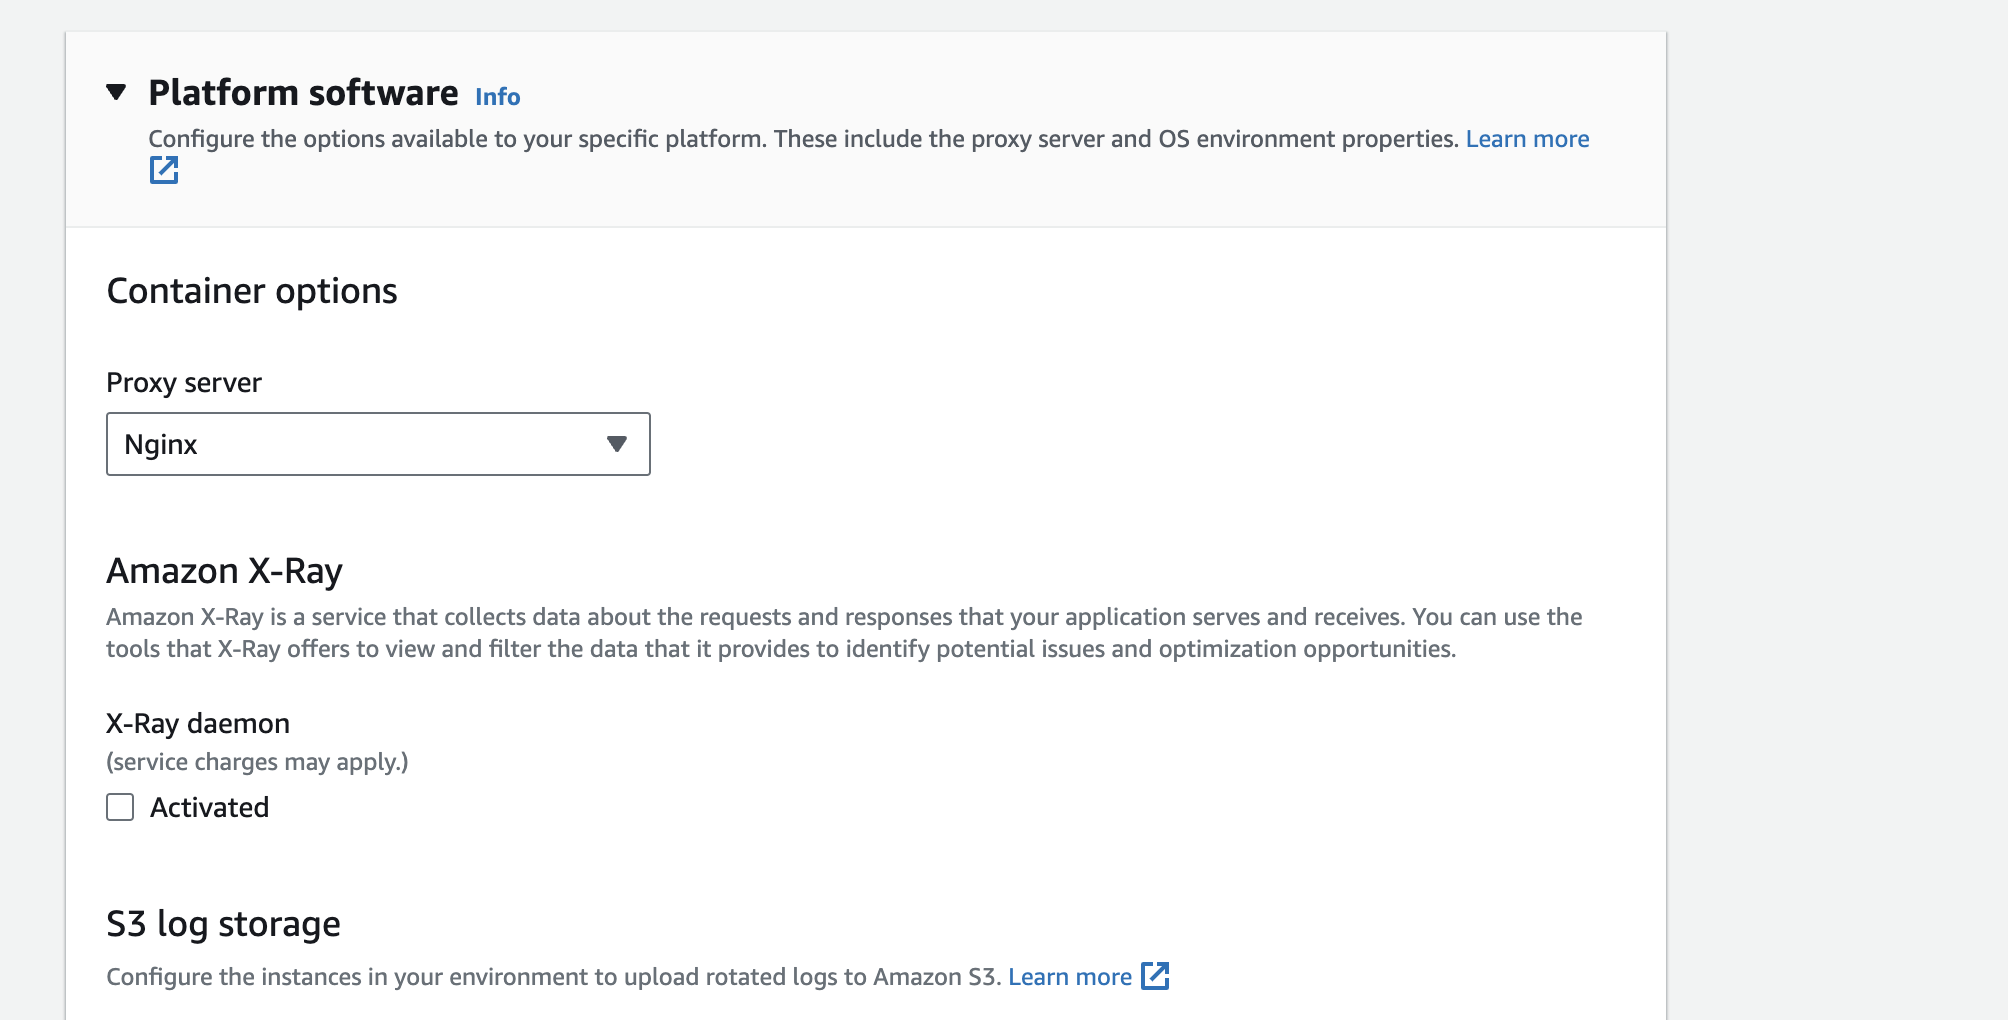
It also provide configurations such as Application deployment policy, default health check on deployment, health threshold and container options.
An important configuration to note here is the Proxy server configuration. you can choose either Apache or Nginx to handle requests to your application. I will be using Nginx to handle requests to the application.
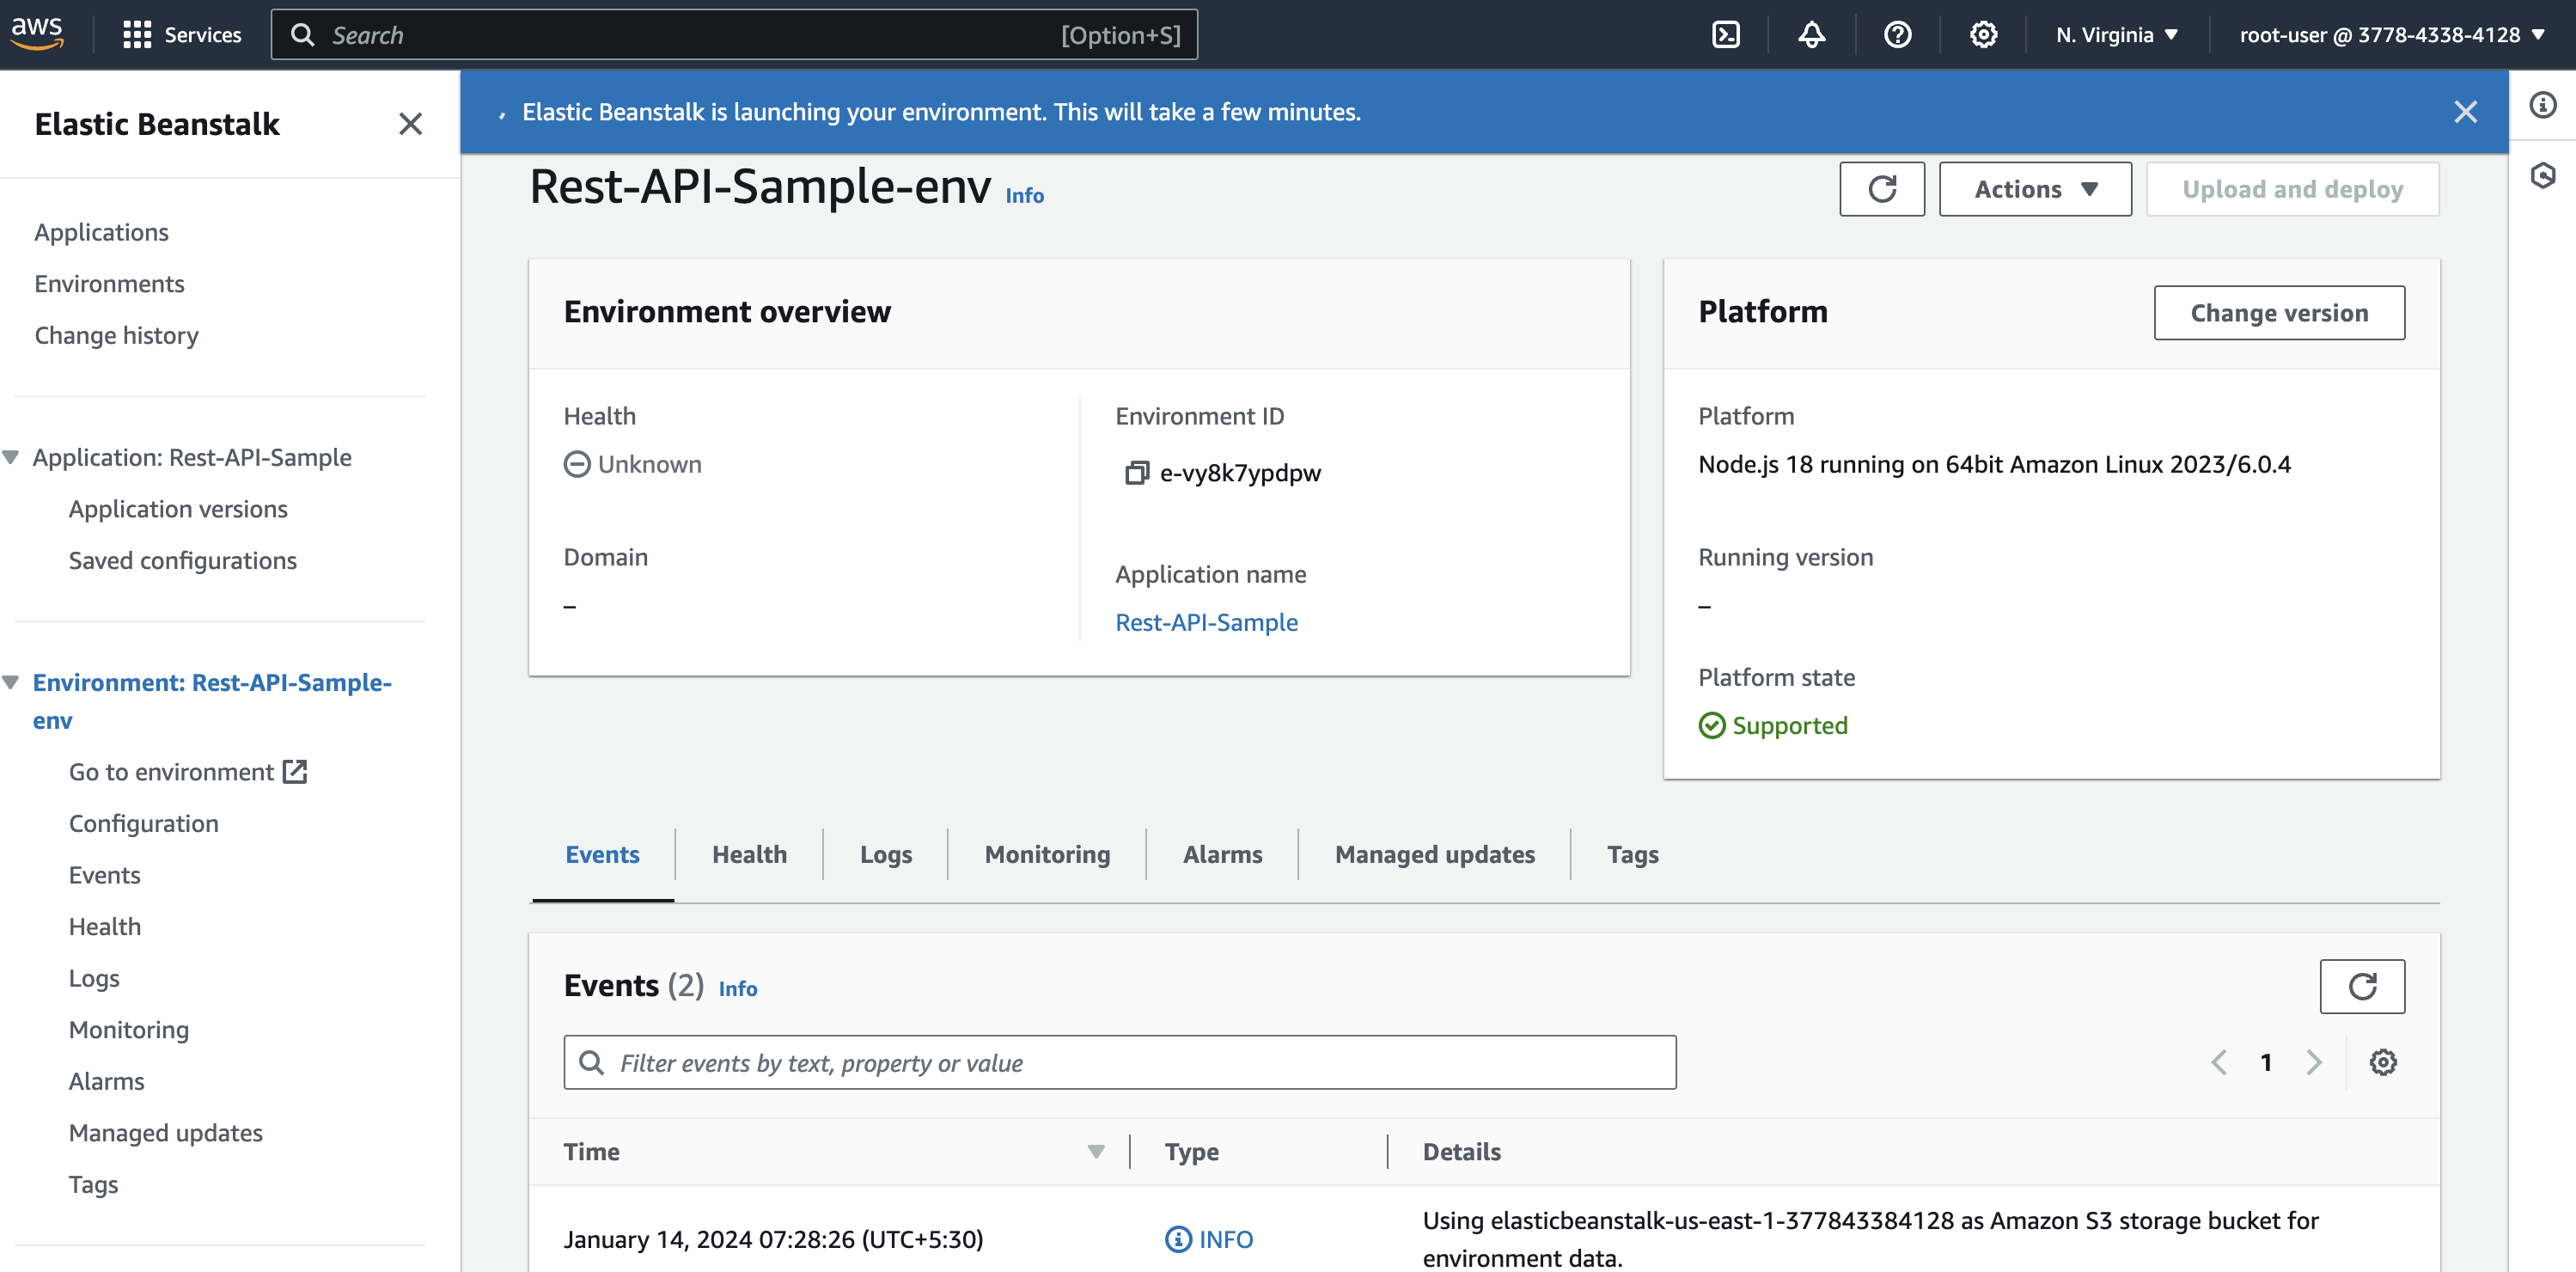
Once you configure it all, review all the configuration that we’ve done and click on submit. After submitting it and if all configured correctly, you can see a notification says that Elastic Beanstalk is launching the environment.

After few minutes, you can see the it successfully launched the environment. Elastic Beanstalk attach the application with a default domain.
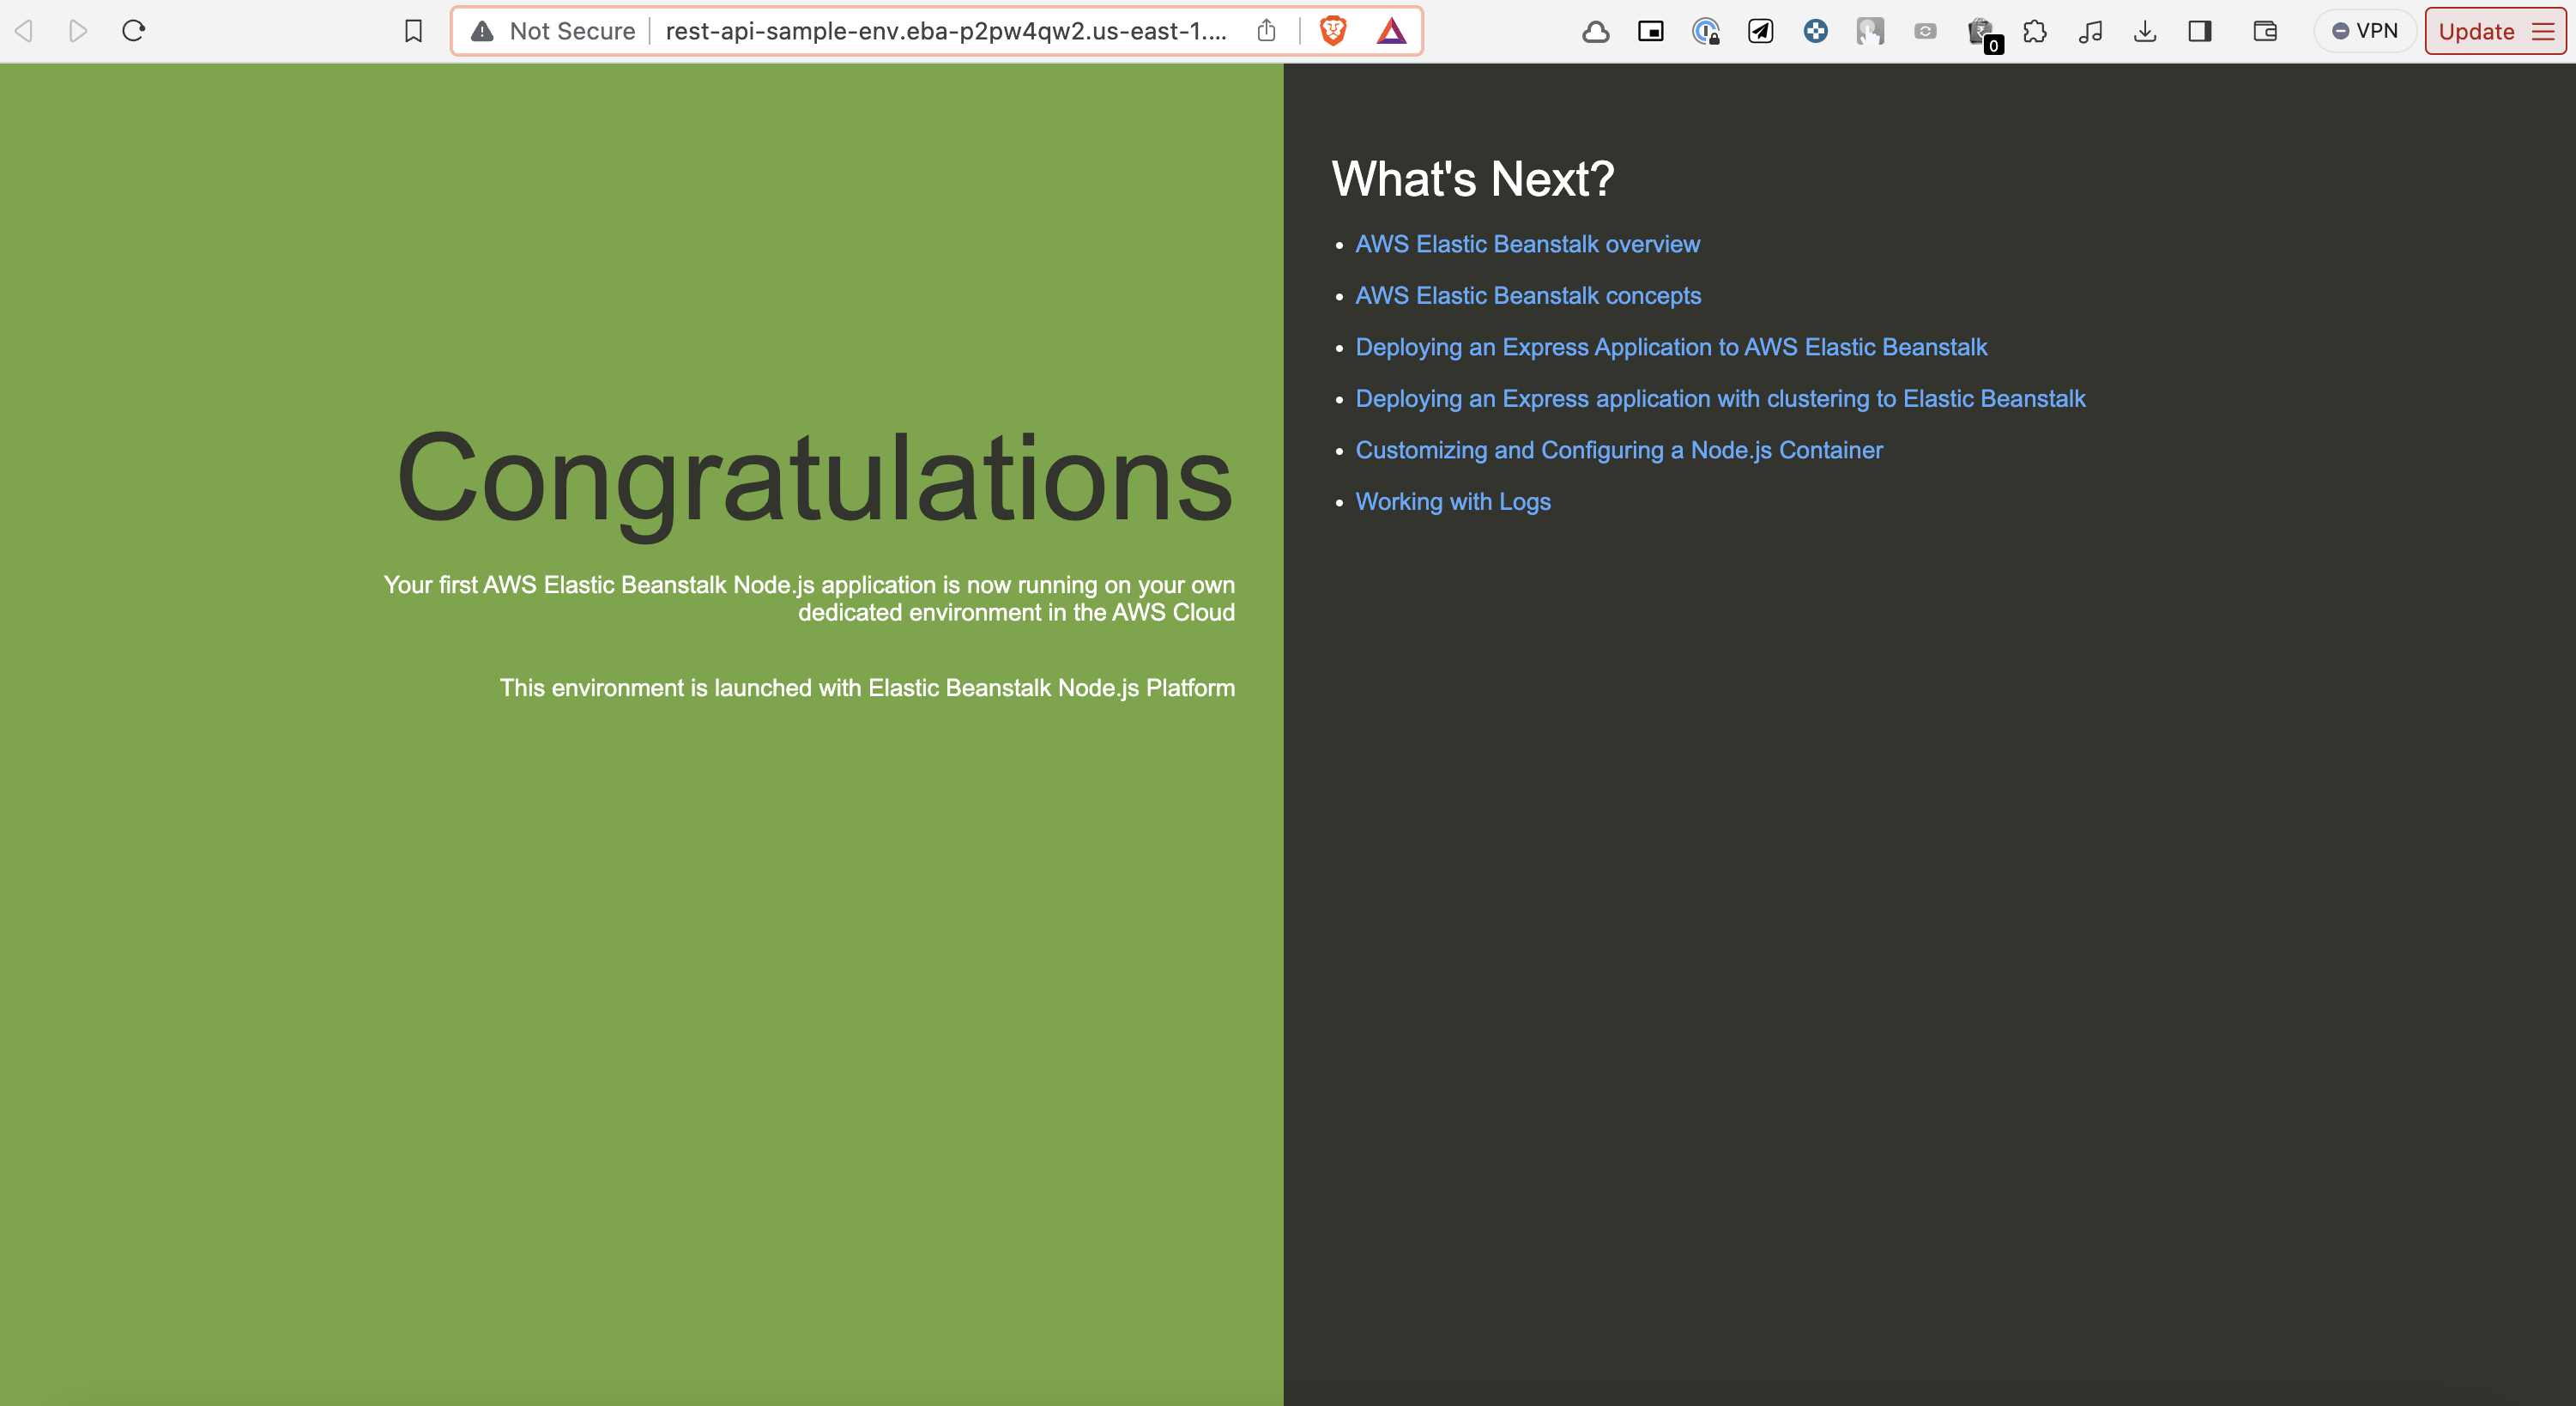
Finally, application will be deployed in the specific domain.
In the next part, we will see how to deploy a Node.js/Typescript application along with database configuration to Elastic Beanstalk.