Building a Production - Ready Node.js App with TypeScript and Docker
Building a Production - Ready Node.js App with TypeScript and Docker
One of the essential things that we miss while learning technology or programming language is to build it as production-ready. I realized it after learning Node.js and Typescript. This article shows you how you can build a Production-ready Node.js, Typescript Application with Docker.
If you are new to Typescript, I recommend you to watch this tutorial to learn the basics of TypeScript.
Application Setup
Firstly, you need to install Typescript on your machine. Run the following command, and this will install Typescript globally in your machine.
npm install -g typescriptCreate a directory and initialize the node.js Application with the command.
npm init --yesAfter that, you need to create a typescript configuration file, which compiles the Typescript into javascript.
tsc --initIt will create a configuration file called tsconfig.json, which contains the Application’s TypeScript configuration.
Configuring TypeScript
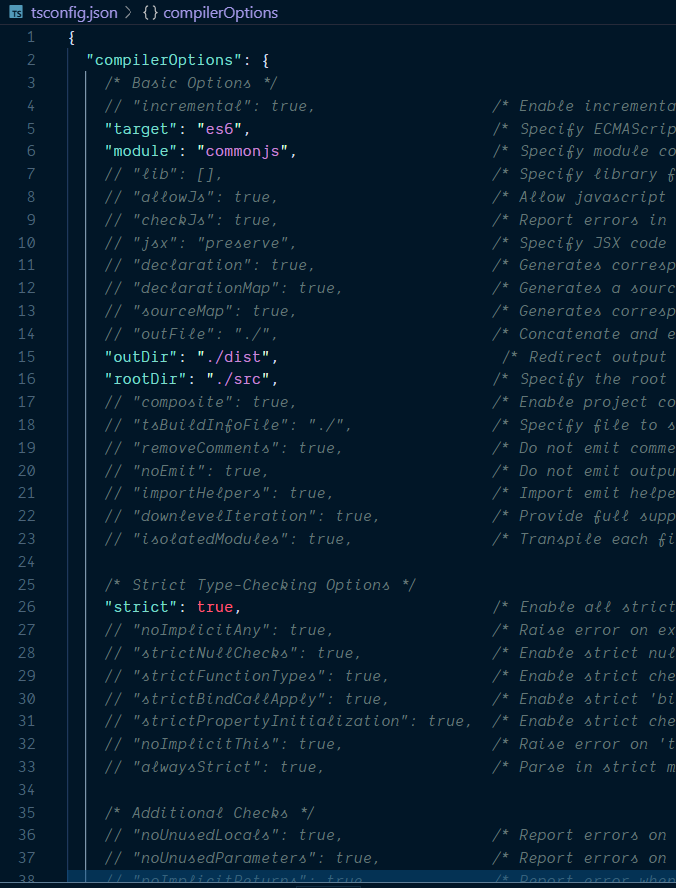
The configuration file will have default compiler options, and we can customize it based on our Application’s requirement. important options are,
- target - it can be either ES6 or ES5, based on the options, TypeScript compiles the code either to ES6 or ES5.
- outDir - it specifies the directory where the compiled code will be stored.
- rootDir - it specifies the directory on which the typescript code will be.
- moduleResolution - specifies the module resolution strategy
Once you complete the configuration, we need to install few dependencies to set up and run the Typescript on the express Application.
Install the following dependencies using the command
npm i -D typescript ts-node @types/node @types/express- ts-node - it is a package for using TypeScript with Node.js. we can run the application using ts-node app.ts
- @types/node - it defines the custom types for Node.js in typescript
- @types/express - it defines the custom types for express application in typescript
After that, create scripts in package.json to compile and run the application.
"scripts": {
    "dev": "ts-node src/app.ts",
    "start": "ts-node dist/app.js",
    "build": "tsc -p ."
  }
Building Express Application with TypeScript
It’s time to build the Express application using TypeScript.
Create a directory called src, which contains the TypeScript files and adds the app.ts file.
import express, { Application, Request, Response, NextFunction } from "express";
import bodyParser from "body-parser";

const app: Application = express();

app.use(bodyParser.json());
app.use(bodyParser.urlencoded({ extended: true }));

app.get("/", (req: Request, res: Response) => {
  res.send("TS App is Running");
});

const PORT = process.env.PORT;

app.listen(PORT, () => {
  console.log(`server is running on PORT ${PORT}`);
});
One of the advantages of using TypeScript is defining the Type for the variable(Static Checking).
Here Express instance will be of Type ** Application**; therefore, the variable must be of type Application. same goes for Request,Response and Next Function(Middleware).
After that, we need to write a logic to connect the database. create a file called connect.ts and add the following code,
import mongoose from "mongoose";

type DBInput = {
  db: string,
};

export default ({ db }: DBInput) => {
  const connect = () => {
    mongoose
      .connect(db, { useNewUrlParser: true })
      .then(() => {
        return console.info(`Successfully connected to ${db}`);
      })
      .catch((err) => {
        console.error(`Error connecting to database :`, err);

        return process.exit(1);
      });
  };

  connect();

  mongoose.connection.on("disconnected", connect);
};
DBInput is a type that takes variable db as a string. we use it to connect with mongodb.
After that, create directories Controllers,Models ,Routes and types in the root directory.
- Controllers - contains all the business logic for the application
- Models - contains all the Database Schema of Mongoose.
- Routes - will have all the API Routes for the application
- Types - will contain Custom types used in the Application
create a file User.mode.ts in Models Directory and add the following code,
import mongoose, { Schema, Document } from "mongoose";

export interface IUser extends Document {
  email: String;
  firstName: String;
  lastName: String;
}

const UserSchema: Schema = new Schema({
  email: {
    type: String,
    required: true,
    unique: true,
  },
  firstName: {
    type: String,
    required: true,
  },
  lastName: {
    type: String,
    required: true,
  },
});

export default mongoose.model < IUser > ("User", UserSchema);
Firstly, we define mongoose schema for user model and User Interface
In Controllers Directory, Create User.controller.ts file and add the following code.
import User, { IUser } from "../Models/User.model";

interface ICreateUserInput {
  email: IUser["email"];
  firstName: IUser["firstName"];
  lastName: IUser["lastName"];
}

async function CreateUser({
  email,
  firstName,
  lastName,
}: ICreateUserInput): Promise<IUser> {
  return User.create({
    email,
    firstName,
    lastName,
  })
    .then((data: IUser) => {
      return data;
    })
    .catch((error: Error) => {
      throw error;
    });
}

export default {
  CreateUser,
};
After that, create a file index.ts in Routes directory and add the following code,
import { RoutesInput } from "../types/route";
import UserController from "../Controllers/User.controller";

export default ({ app }: RoutesInput) => {
  app.post("api/user", async (req, res) => {
    const user = await UserController.CreateUser({
      firstName: req.body.firstName,
      lastName: req.body.lastName,
      email: req.body.email,
    });

    return res.send({ user });
  });
};
RoutesInput is a custom type that defines the Express Application Type.
create a file types.ts in types directory and add the code,
import { Application } from "express";
export type RoutesInput = {
  app: Application,
};
update the app.ts with mongodb connection and routes of the application.
import express, { Application, Request, Response, NextFunction } from "express";
import "dotenv/config";
import bodyParser from "body-parser";
import Routes from "./Routes";
import Connect from "./connect";

const app: Application = express();

app.use(bodyParser.json());
app.use(bodyParser.urlencoded({ extended: true }));

app.get("/", (req: Request, res: Response) => {
  res.send("TS App is Running");
});

const PORT = process.env.PORT;
const db = "mongodb://localhost:27017/test";

Connect({ db });
Routes({ app });

app.listen(PORT, () => {
  console.log(`server is running on PORT ${PORT}`);
});
To test the application, run the script npm run dev and visit the URL http://localhost:4000
Docker Configuration
Docker comes in handy when you want to deploy your application without going through complicated server configurations.
If you are new to docker, read about docker for node.js and docker configuration.
Building Docker’s image for our Application is simple and straightforward. But one thing to note here is to make it worthwhile for different environments. That’s what we are going to learn,
Here, we will create a Docker setup for both development and production environment with best practices and guidelines.
Docker for Multiple Environments

First of all, the Docker image is the base to wrap our Application into a container. For that, we need Dockerfile.
In most of the applications, there will be multiple docker containers that work together. To make it work, we need to create a service and network for them to communicate. that’s called Docker compose.
So, we will create Dockerfile for production and development and use them in Docker compose.
Let’s create Dockerfile.dev which is Dockerfile for development.
FROM node:10

WORKDIR /usr

COPY package.json ./
COPY tsconfig.json ./

COPY src ./src
RUN ls -a
RUN npm install

EXPOSE 4005

CMD ["npm","run","dev"]
We take the node base image and install all our dependency in the docker image container.
After that, create Dockerfile for the production environment in the root directory and add the following code.
FROM node:12.17.0-alpine
WORKDIR /usr
COPY package.json ./
COPY tsconfig.json ./
COPY src ./src
RUN ls -a
RUN npm install
RUN npm run build

## this is stage two , where the app actually runs
FROM node:12.17.0-alpine
WORKDIR /usr
COPY package.json ./
RUN npm install --only=production
COPY --from=0 /usr/dist .
RUN npm install pm2 -g
EXPOSE 80
CMD ["pm2-runtime","app.js"]
You can see the difference of the npm install command between the two configs. In development, we install devDependencies, whereas in production, we remove it by adding --production.
Here we follow multi-stage docker build. First, it compiles our image with a temporary docker image and copies that build to the final image.
After that, we install a process manager called pm2, mostly used in all production applications.
Docker Compose Configuration
Here, we are going to follow Docker compose composition. it separates the common configuration as the base configuration. On top of that, we can extend configuration based on the environment.
Let’s create a base config file docker-compose.yml in the root directory and add the following code.
version: "3.7"

services:
  mongo:
    container_name: mongo
    image: mongo
  app:
    container_name: app
    external_links:
      - mongo
    depends_on:
      - mongo
Docker compose combine multiple docker services and run it in a single container. Here, we combine MongoDB and Application images and run it container.
After that, create docker-compose.override.yml and add the following code,
version: "3.7"

services:
  mongo:
    container_name: mongo
    image: mongo
    restart: always
    volumes:
      - ./data:/data/db
    ports:
      - 27017:27017
  app:
    container_name: app
    restart: always
    build:
      context: .
      dockerfile: Dockerfile.dev
    env_file: .env.local
    environment:
      - PORT=${PORT}
      - MONGO_URL=${MONGO_URL}
    ports:
      - 4005:4005
    external_links:
      - mongo
    depends_on:
      - mongo
volumes:
  mongo-data:
    driver: local
You can see that we use Dockerfile.dev since it’s for the development environment. Also, we mount the database volume with our local machine.
You can either create multiple .env files use one. Here, I am using env for local and production.
Now, let’s create Docker compose for production. docker-compose.prod.yml
version: "3.7"

services:
  mongo:
    container_name: mongo
    image: mongo
    restart: always
    ports:
      - 27017:27017
  app:
    container_name: app
    restart: always
    build: .
    env_file: .env
    environment:
      - PORT=${PORT}
      - MONGO_URL=${MONGO_URL}
    ports:
      - 4000:80
    external_links:
      - mongo
    depends_on:
      - mongo
Some of the best practices to use in production build are,
- Remove any volume bindings in the application code. In that way, any outside environment can change the application code in production
- It’s better to bind the default port(port 80) in the production
- Specify
restart:alwaysin config. So, it updates the build every time we deploy - Logs are important in the production
Docker Deployment and Running
Once, You add Dockerfile. Run the following command,
docker-compose upIt will deploy the compiled code in the docker image and run it in the container.
Complete Source code contains Building a Production - Ready Node.js App with TypeScript and Docker.